Share
Pin
Tweet
Send
Share
Send
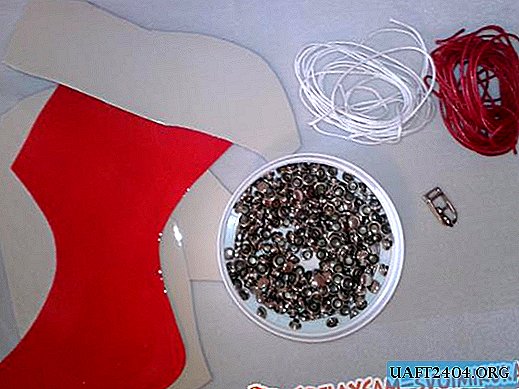
Necessary materials:
1. two small pieces of patent leather - one white, one red;
2. waxed cord of red and white colors;
3. special rivets;
4. buckle;
Among the tools used, we need:
- a press for installing rivets;
- ruler;
- scissors;
- a pen;
- hole puncher.

If you do not have a special press or hole punch, this is not a problem. To form holes, use an ordinary awl or cut carefully with nail scissors. Instead of a press, rivets can be installed with a conventional hammer.
So let's get started. The first thing you need is to cut 10 pieces of leather. We need 3 pieces of red leather in the following sizes: 45x15mm - 1 piece, 10x35mm - 2 pieces. And 7 pieces of white color of such sizes: 45x15mm - 1 piece, 10x35mm - 4 pieces, 100x7mm - 1 piece, 70x7mm - 1 piece.

The next step is to make 8 small holes in pieces measuring 45x15 mm. Try to make a pen on the back of the tag so that the holes are one against one.

We take a 150mm wired white cord and do diagonally weave through one hole.

Then we do the same with the red cord, only in the opposite direction so that we get crosses.

With the back moaning, the ponytails from the laces are fixed by simply tying knots. We cut off the remaining ponytails.

Next, add 2 white pieces with the letter “G” and make a hole with a hole punch

And fasten with a press a rivet.
We do the same from the second side to get the letter “P”, just attach the red piece.

Such letters “P” need 2 pieces, only the second should be symmetrical to the first.

Further, the piece created with the help of lacing must also be connected with rivets with two letters “P”.

We take a piece of white leather measuring 70x7mm. At a distance of 25mm from the edge we make a small hole. We put on this hole on the buckle and fix the remaining tail with riveting. Then with another riveting we attach a belt to the base of the bracelet.
On the last piece we make 5 holes with a distance of 15mm. And just attach it to the base with riveting.


That's all, the bracelet is ready. It can also be done in any other color: black-red, black-white or any other material you have.


Share
Pin
Tweet
Send
Share
Send