Share
Pin
Tweet
Send
Share
Send
So, what materials will be required to make such a board?
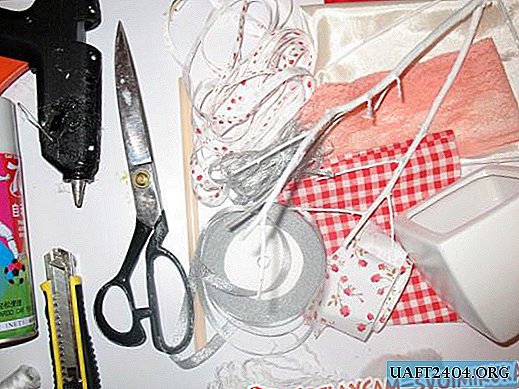
1. Wooden blank.
2. Decoupage napkin (or decoupage card).
3. The ground.
4. Acrylic paints.
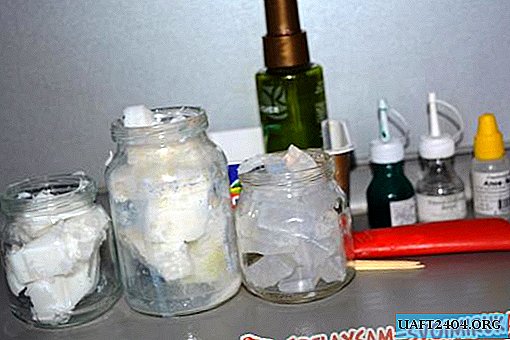
5. Brushes, scissors, sponge (sponge), ceramic plate or palette to mix paints.
6. PVA glue (or special decoupage glue).
7. 3D Potch (or transparent volumetric gel contour).
8. Acrylic varnish (or topcoat for decoupage).
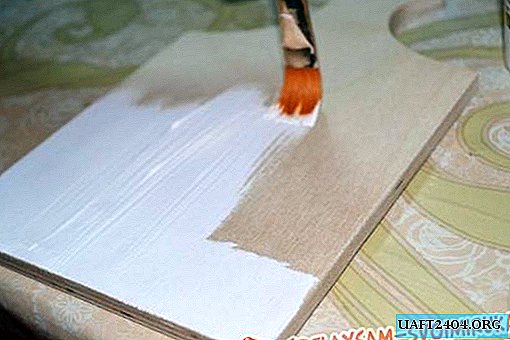
First step. First of all, it is necessary to prime our workpiece so that the paint and napkin lie better on the surface, and the finished product lasts longer. Use white soil for wood and cardboard. If you do not have soil, the workpiece can be painted with white acrylic paint so that the tree does not shine through the napkin. Coating the workpiece with soil or paint can be done with any synthetic brush. When the entire front side of the workpiece is covered with soil, leave it until it dries completely.

Second phase. Now you can start applying the decoupage napkin. To do this, cut out a suitable size motif and separate from it the 2 lower layers, leaving only the upper thin layer with the picture.

In order for the napkin to lie flat, without air bubbles and wrinkles, it can be applied to the workpiece using ordinary water. We drip a little water into the center of the napkin and begin to move with a wet brush from the center to the edges, making sure that the napkin lies flat on the board.


If wrinkles or air bubbles still form, the napkin can be carefully lifted by pulling the dry edge and smoothed again with a brush. Going to the edges of the napkin, just as carefully "glue" them with water one after another.

After this, you can proceed to the real gluing of the napkin. We take decoupage glue or PVA glue (it can be slightly diluted with water) and gently apply over a wet towel. We are waiting for drying.
The third stage. Since the napkin does not occupy the entire surface of the workpiece, free areas also need to be decorated. To do this, stir on the back of a ceramic plate or on a palette of acrylic paint of the desired color. In this case, a light gray color was used, obtained by mixing white and black paint. We paint over the upper part of the board, and also carefully paint the sidewalls.
To create the effect of a smooth transition of paint into a napkin and hide its borders, we use an ordinary foam sponge. Dip a sponge in gray paint and walk it along the edge of the napkin with "soaking" movements. Also, to further decorate the workpiece, you can again, with the help of a sponge and silver acrylic paint, go around the entire edge of the board. The smallest silver sparkles will give the product a more “elegant" look.


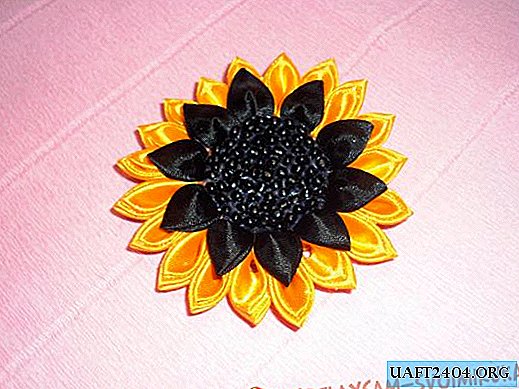
The fourth stage. When the workpiece is completely dry, take a 3D patch or a transparent volume contour and circle objects in the image that you want to visually highlight. In this case, the Eiffel Tower and the inscription "Paris" were highlighted.


After drying, 3D-tatch becomes transparent and creates a volumetric effect. It dries quite a long time, because it is applied in a thick layer. Therefore, the workpiece can be safely left overnight, and the next day coated in 2-4 layers with acrylic or topcoat for decoupage. Do not spare the varnish if you intend to use the board for cutting products in the future, because it will have to be washed. It is better to protect the work with four layers of varnish. If you plan to use the board just to decorate the kitchen, you can limit yourself to two layers. Each layer is dried for 20-30 minutes, finally the varnish dries in a day.
Well, that’s it, the board with Paris is ready! Now she can decorate your kitchen and delight the eye.


Share
Pin
Tweet
Send
Share
Send