Share
Pin
Tweet
Send
Share
Send
Since children like this tradition, rabbits appeared in the form of soft toys. They often decorate the house, give relatives or friends.
This master class will help everyone to sew an Easter bunny on their own. This simple craft can be done with your child.
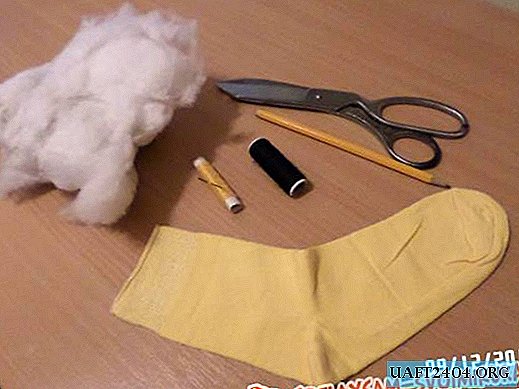
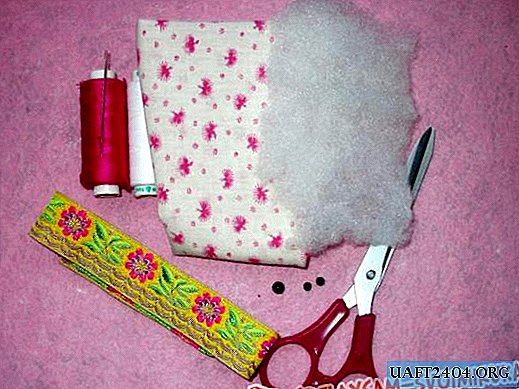
Materials and tools:
• cotton fabric;
• threads (white, pink);
• needle;
• braid;
• synthetic winterizer;
• beads (black, 3 pieces);
• scissors.
1. To start making Easter Bunnies, you need a template. Therefore, first draw a rabbit figure on paper and carefully cut it out. This will be the template for future crafts.

2. Now we transfer the pattern to the fabric. Fold the fabric in half, apply the rabbit pattern, circle the outline and cut exactly along the line. You should get two identical parts. For the manufacture of a rabbit, it is best to take linen or cotton fabric, plain or with a small pattern.

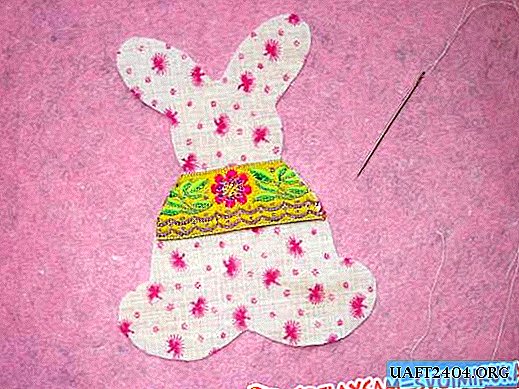
3. For decoration, we need a bright, narrow band. Cut a piece of braid, attach it to the rabbit's body and sew it so that no stitches are visible on the front side. We trim the braid protruding beyond the edge of the figure. For sewing use white thread.

4. We revive the figure. Make a face for the rabbit using beads. Sew eyes from black beads. The thread is not cut, it is useful for sewing the next part.

5. Having sewed the eyes, we attach the nose to the same thread as the eyes. Having fixed the nose, we make a mustache. To do this, thread a few times (about 4-5 times) a thread through a bead to make several loops.

6. Next, you need to cut the loop of thread threaded through the bead. Scissors trim the edges of the thread so that the mustache is the same on both sides. Now they look like real ones.

7. Having finished the design of the muzzle, we proceed to stitching the parts of the rabbit. We sew the parts manually with a seam “over the edge” with pink threads. We start to sew from the bottom, with the legs. Make sure the stitches are the same.

8. We do not sew the rabbit completely, leave the bottom not sewn up. Through this hole we fill the figure with a synthetic winterizer. We distribute it evenly so that all parts of the rabbit are filled. The figure should be a little flat, so we fill it with a padding polyester not very tightly. If there is no syntepon, you can replace it with another filler, for example, cotton wool, sintepuh, holofiber or others.

9. Filling the rabbit with a synthetic winterizer, we sew the place of filling with a seam "over the edge". OK it's all over Now. Craft Easter Bunny Ready!

10. The rabbit will become an original decoration of the festive table. Also, a bright figure will decorate a basket with eggs, which can be presented to friends.
Share
Pin
Tweet
Send
Share
Send