Share
Pin
Tweet
Send
Share
Send
Below is a master class on molding a ring in the shape of an orchid flower.
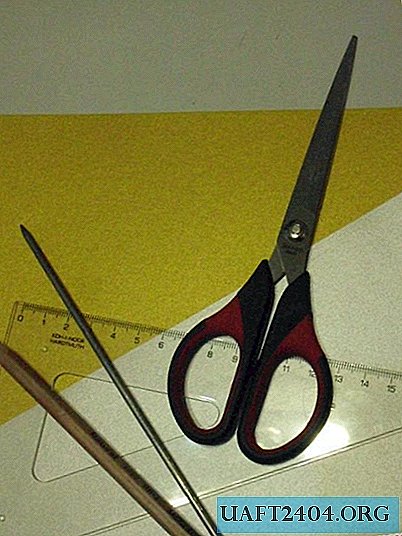
Materials Tools:
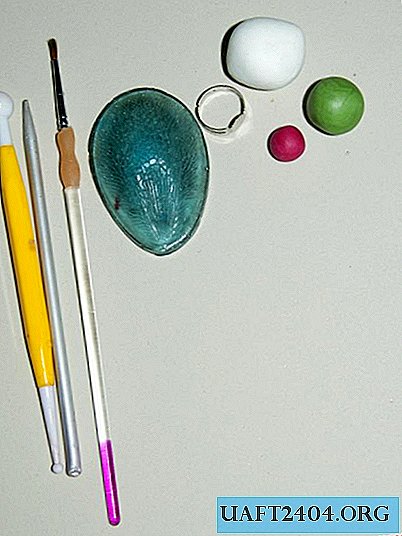
A stack with balls, a simple stack, a brush, molds of the texture of orchids, the basis for the ring, cold porcelain of white, green and fuchsia. You will also need PVA glue for bonding parts. Cold porcelain is painted in the right colors with oil paints, pigments, food colors, etc. We roll out a ball of white porcelain, form a droplet from a ball and flatten it in the palm of our hand, giving the shape of a petal with a simple stack.


We put the petal on the mold and with light taps we create the texture of the orchid.

Using a stack with a ball, we give the petal a curved shape. There should be 3 such petals.


We roll out two more balls, from them we form large flower petals. Then we deal with them as with the previous ones.


We get three narrow petals and two wide.

Next, proceed to the assembly of the flower. From green porcelain we form a cake and stir it on a flat surface, after applying a baby cream on it.

To make the ring look more natural and richer, add to the flower of the leaves. We sculpt an oblong droplet and push it through the stack, making it thinner, then with our fingers we give the leaf a curved shape. Such leaves can be one and 3, and 5, it all depends on the idea.


On a green cake, apply PVA glue with a brush and place the leaves on it.

Again we apply glue to the leaves and begin to collect the flower. First, the first three narrow petals are located, then the other two.


Next, we sculpt the middle of the orchid. Since the flower is small, and the middle will be a little stylized. We sculpt two small balls, flatten them and, using the stack with a small ball, give a curved shape. Then we roll out a thin strip, about 1 cm by the valley, bend it in half, these will be the "antennae" of the center.


Apply glue to the middle of the flower and place the middle details.


It remains to dazzle another small detail. We make a small droplet of green porcelain, do not press its middle in the stack and place it slightly above the middle of the flower.


At this stage, you can stop, as the flower is ready.

But to make it brighter, the petals can be tinted. You can tint with oil paints, eyeshadow, pigments.

After the flower is completely dry within 24 hours, you can attach it to the base for the rings. It is best fixed with epoxy lei or Moment Crystal glue. After the glue dries, the jewelry can be worn with pleasure or make someone a nice gift.

Share
Pin
Tweet
Send
Share
Send