Share
Pin
Tweet
Send
Share
Send
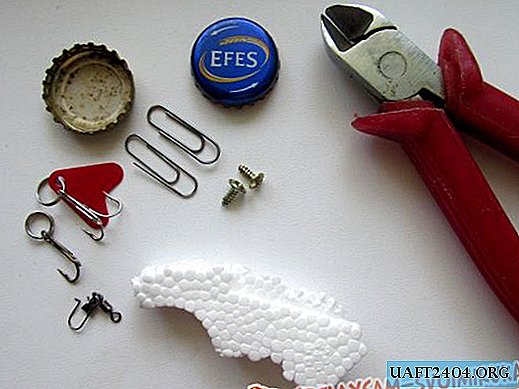
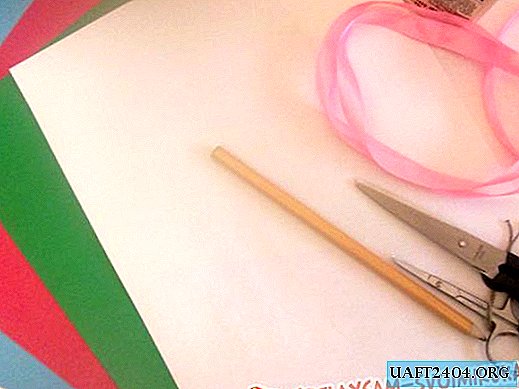
It is this master class that will help us make a bouquet using the origami technique. To do this, we need to take the following:
- Colored paper of red, orange, yellow, blue and violet colors;
- Toothpicks
- Scissors;
- PVA glue;
- Ruler;
- Teip tape green;
- Vase for a bouquet.


First we need to cut out the squares from the colored paper, from which later we will make flower petals. Each flower we have will consist of five petals. In total, we will also have five colors in the bouquet, so we will also have five squares for each color of paper. So, we cut out five squares from each 7x7 cm paper.

All paper will be one-sided, so the petals will turn out, as if with stamens inside. There will be white streaks in the center, because the back side is white paper. We begin to make the first group of red petals. Turn the square over with the white side to the top.


We fold it diagonally in half, we get a double triangle.

Now we add to the center first the left side of the triangle, and then the right. In appearance, we get a folded small rhombus.


Now we turn the folded sides exactly in half, we get sharp triangles on both sides. The protruding sides of each triangle are turned up so that they align with the sides of the rhombus.


We fold each side in half. We take a brush and with PVA glue we smear both triangles.


We put each other in a petal, it turns out exactly in half, we press literally for ten seconds and straighten out such a petal. The middle is obtained by white veins.


We do so in total 25 petals of five colors. We take toothpicks, we will form flowers.


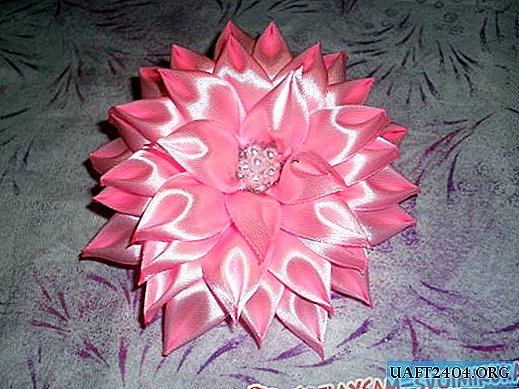
We grease the side of one petal with glue, lean against the other, grip it slightly and straighten it. So petal by petal, we form a flower of five petals. To make the bouquet particularly bright, we combine the colors of the petals: red with orange, blue and violet, yellow and blue, yellow and violet.


In the center of each stick a toothpick. Now we wrap each trunk with a green teip tape.


The bouquet is ready! It looks very cool. Thanks for your attention.

Share
Pin
Tweet
Send
Share
Send