Share
Pin
Tweet
Send
Share
Send
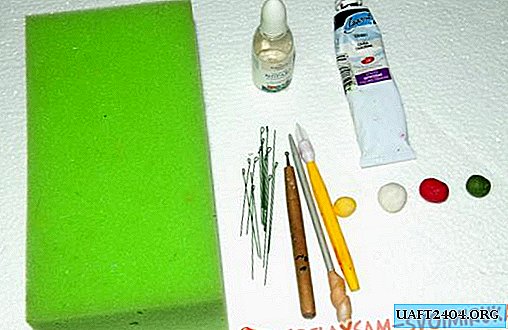


A yellow ball rolls up, then, using a needle or a toothpick, the ball is "shaggy".


A floristic wire with a curved round-nose pliers is taken, PVA glue is applied to it. A yellow ball is attached to it. This will be the middle of the flower.

Then flower petals are molded. A white ball rolls down, a drop forms from it. In the palm of our hand, using the stack, we roll out the petal, which is then better placed on the sponge. For one flower, you need five petals. When all the petals are stuck together, they need to be shaped using a stack with a ball, without pressing the center of the petal very much.


Up to half of the dried middle of the flower, PVA glue is applied. Petals overlap. It should turn out such a small, delicate flower.


It was the turn of the berries. A red ball rolls and with the help of a curly stack a shallow depression is pressed into it. Then the berry should be put on the wire.


The deepening of the berry is painted with black acrylic paint, and after drying it is covered with stained-glass transparent paint to give shine and depth. About 20 flowers and 25 berries are molded, depending on the size of the bracelet.


After complete drying, cut off the excess wire, leaving approximately 0.6 cm.

With the help of round-nose pliers, the wire is twisted on all colors and berries. It is time to put the work together. All links of the chain are filled, the order depends on desire and idea. Two berries are attached to the photo, one flower, etc.


In the end, it remains to rejoice at the original handmade jewelry, which can be a wonderful gift for yourself and your loved ones!
Share
Pin
Tweet
Send
Share
Send