Share
Pin
Tweet
Send
Share
Send
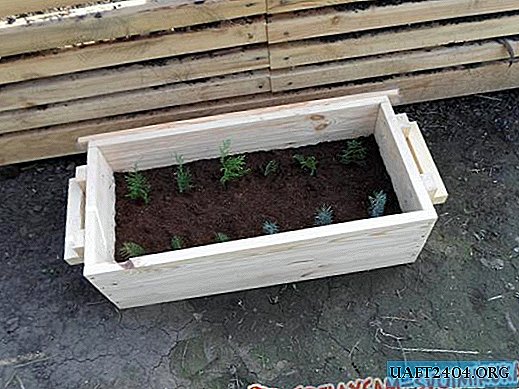
In a wooden box there should be enough space for the normal growth of cuttings for 4-6 months before the fall transplant, or even 1-2 years, if required by the agricultural technician rooting. Optimal dimensions of the box: 300x350x750 mm (height / width / length). In a shorter container, the lid will interfere with the shoots, and an unnecessarily bulky structure is more difficult to move.
Preparation for work
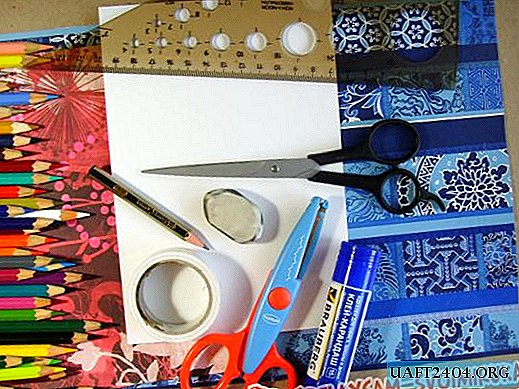
To build a homemade box you will need a tool:
- the hacksaw is manual,
- a planer,
- hammer,
- drill
- wood drills,
- furniture stapler,
- a knife
- roulette
- square
- pencil
- a brush.

For work, pine wood without traces of decay is suitable:
1. Boards with a thickness of 16-25 mm.
2. Bars with a section of 30x50 mm.
3. Thin slats 10x30 mm.
Going over boards, discard warped and twisted - with increased humidity they will become even worse.
Expendable materials:
1. Nails 50x2.5 - 28 pcs.
2. Nails 60x3.0 - 20 pcs.
3. Decorative carnations - 10 pcs.
4. Antiseptic.

A lid of a homemade box can serve as a piece of plastic film or white non-woven material measuring 80x60 cm.
Parts manufacturing
Drawing of the elements of the box for cuttings

Wooden details: 1 - longitudinal strips for sides and bottom; 2 - bottom insertion; 3 - strips for end walls; 4 - slats; 5 - pens; 6 - connecting bars.
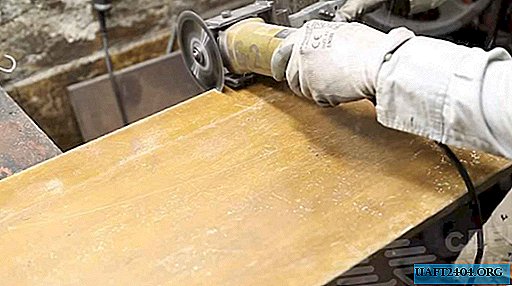
Using a pencil, a square and a tape measure, mark the workpieces according to the drawings, cutting off the cracked and chipped ends.

Saw the boards in size and treat the surfaces with a planer. Coat the parts with 2-3 layers of protective impregnation, following the instructions on the package.
DIY box assembly
Fold two short planks in a shield, draw a line parallel to it at a distance of 30 mm from the cut. Repeat the marking on the opposite side. Attach connecting blocks along the lines. Knock down the parts with nails and bend the protruding ends from the back.

Take two longitudinal slats and “bait” along the edges of the carnation. Collect the blanks with the letter "P", trim the ends and hammer in the nails.

Turn the structure over and secure the side rails of the opposite side. Try to deepen the nails vertically to avoid the tip coming out of the wood.

Nail the bottom details by placing a narrow bar in the middle and leaving 2-3 mm gaps between the planks to expand the wooden elements when swelling. Attach the handles with nails closer to the top of the box.

Drill two rows of drainage holes in the bottom of the drawer.

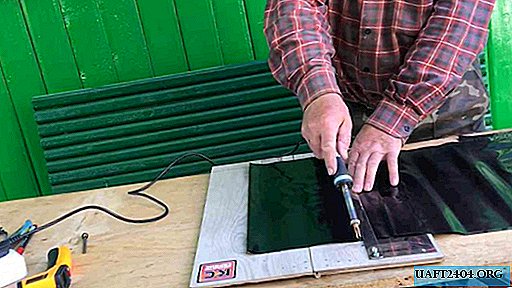
Make an improvised lid for the drawer. Wrap one rail with tape and secure the material with brackets.

Wrap the second rail with the opposite edge of polyethylene, put the third bar on the lapel and beat with small cloves.

Attach the canvas to the box wall at three points, pre-drilling the guide holes in the rails to prevent the split of thin wood.

When using polyethylene, make a slot with a knife to drain the water, otherwise in heavy rain the film will bend and crush the shoots.

Pour fertile soil into the box made by yourself and plant the prepared cuttings.

When placing the container on the surface of the soil, place bricks underneath. After determining the seedlings in the "school", free the box from the ground, clean the walls and dry the wood.
Share
Pin
Tweet
Send
Share
Send