Share
Pin
Tweet
Send
Share
Send
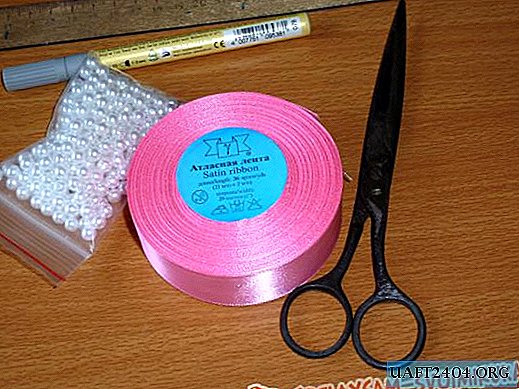
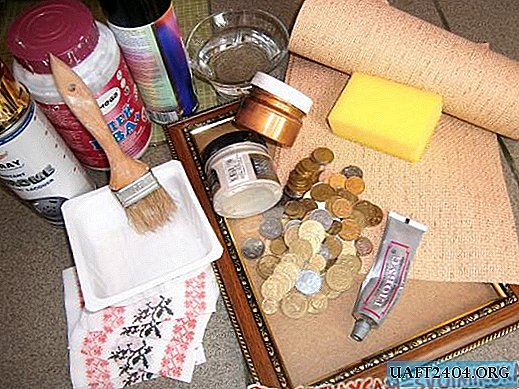
Materials for work:
• folder - registrar - 1 pc.;
• color double-sided cardboard - 12 sheets;
• Whatman A3 format - 1 sheet;
• PVA glue - 1 pencil;
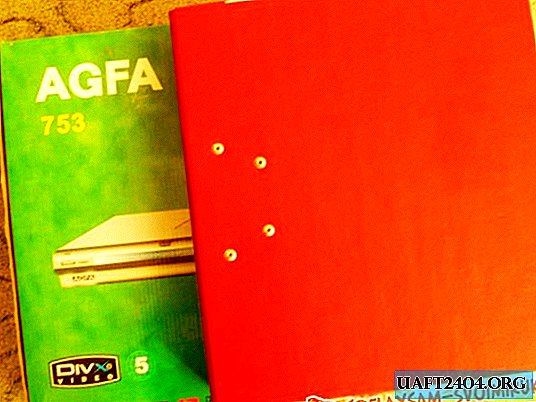
• an old box of a larger size than the recorder - 1 pc .;
• wide clerical tape - 1 roll;
• button on the leg - 1 pc.;
• thin toilet paper - 1 roll;
• notebook with checkered sheets - 1 pc .;
• satin ribbon wide - 1 meter;
• narrow satin ribbon - 15 cm;
• pencil, stapler, knife for cutting paper, glue "liquid nails" awl, piece of wire, paint "gold", curly scissors, brush.
Stages of the work:
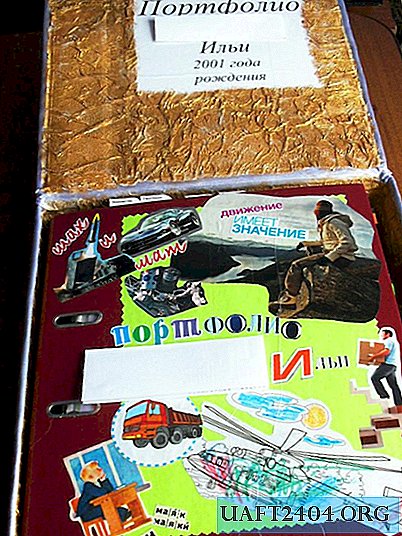
1. Portfolio.
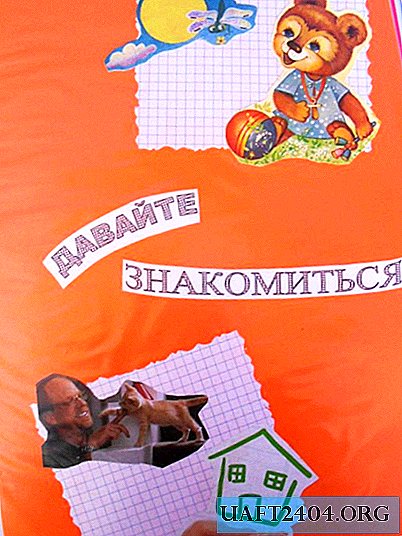
The first stage: create the "face" of the folder.
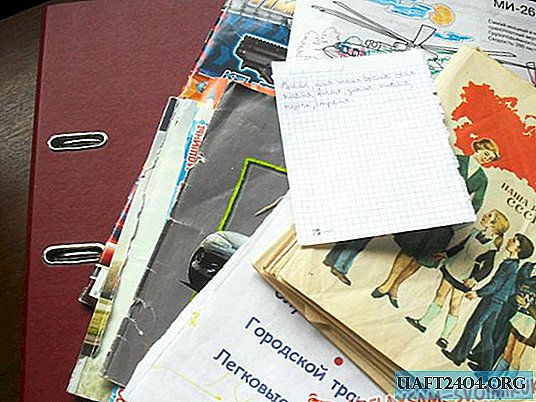
To create the front side of the portfolio folder, you can use anything you want: old books, primer, postcards, magazines.
The edges of the colored sheet are decorated with curly scissors. We glue PVA and attach it to the folder.

In random order we glue clippings, pictures, inscriptions.

In the central part we write the name of the folder, the last name and the name of its owner.
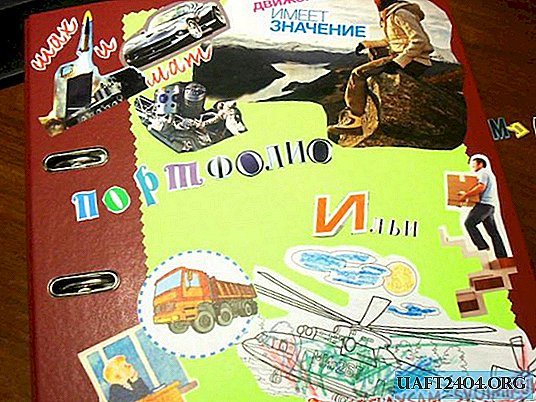
To preserve the integrity of the stickers, the entire collage can be pasted with a wide adhesive tape.
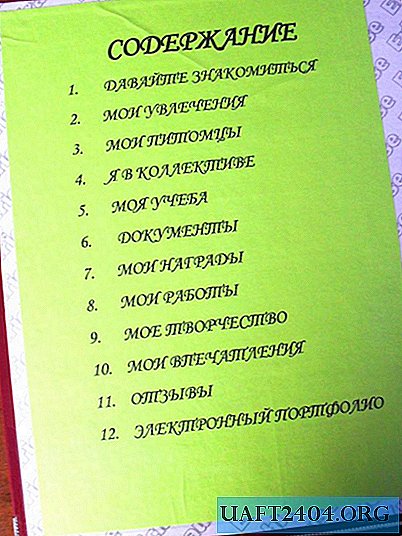
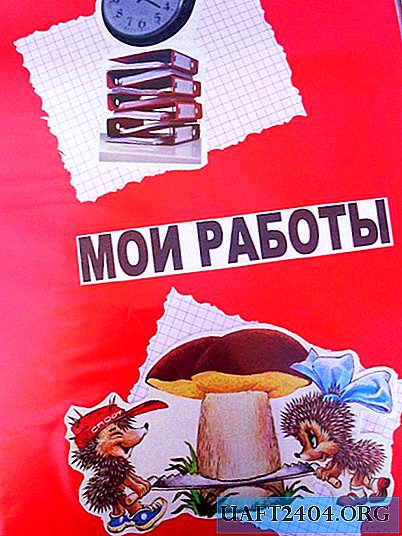
The second stage: we form the title pages of sections.
The number of title pages and constituent sections of the portfolio is not set by certain standards, but to reveal all the potentials of the child, you can create the following: “let's get acquainted”, “my hobbies”, “my pets”, “I am in the team”, “my studies”, “documents "," my awards "," my works "," my work "," my impressions "," reviews "," electronic portfolio ". To the reverse side of the crust of the registrar folder we glue "content" with the name of the sections.
To give uniformity to the color clippings of different sizes that will adorn the title pages of sections, we remove the leaves from the notebook and decorate their edges with curly scissors.

Glue the name of the section on colored cardboard and decorate it with pictures that are appropriate in meaning.

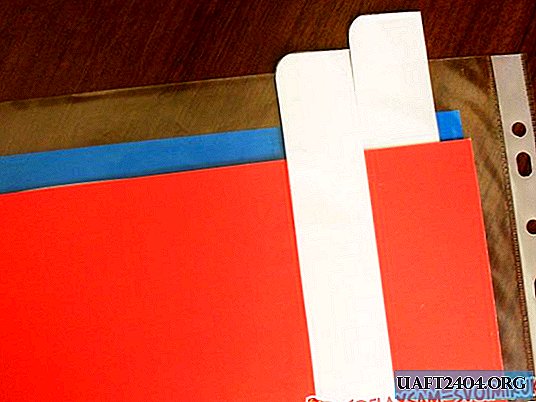
We put ready-made cover sheets into files.


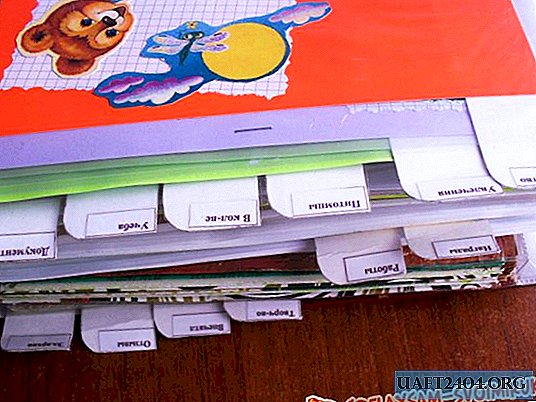
The third stage: we make separation bookmarks.
From a piece of paper in A3 format, we cut strips 2-3 cm wide, a couple of centimeters longer than an A4 sheet. Using the cap from the glue we make the cut strips on one side semicircular.

We print the names of the sections of the portfolio, cut it.

We attach section names to long strips.
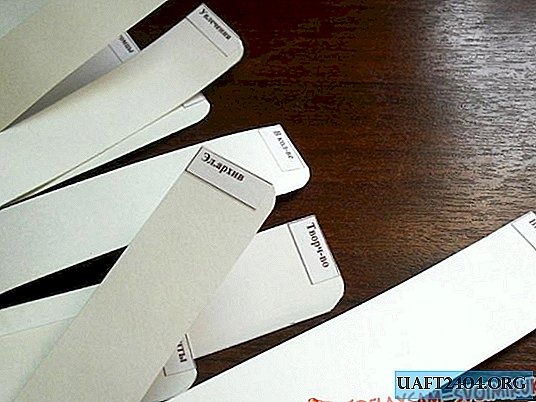
The names of the sections on the strips are glued with tape on both sides.


Carefully cut the bookmarks, removing excess tape from the edges.

To the back of the title page of the section, glue the bookmark (with PVA glue).


Go to the next title page by glueing the bookmark slightly, so that it does not fall under the previous one (it does not close it).
The fourth stage: we systematize the inner world.
We put photos, documents, drawings, works, etc. into files. put files under the cover page of each section.

In the section "Let's get acquainted" we indicate the name of the child, date and place of birth, address of residence phone, school, name of parents, their phones. Accompanying the text with photographs is welcome.
In the section "My hobbies" on the cardboard sheets we paste the photos telling about the hobbies of the child. To organize different pictures, you can use decorated notebook sheets as a substrate for them.
In the section "My Pets" we place the recorded stories of the child about pets, his photos with them.

The section "I am in the team" is formed from cardboard sheets with photos of the child pasted on them at various school events, trips, excursions, etc.
The section “My studies” can consist of quarterly and annual grades (torn from diaries), tests and tests given to children in their arms.

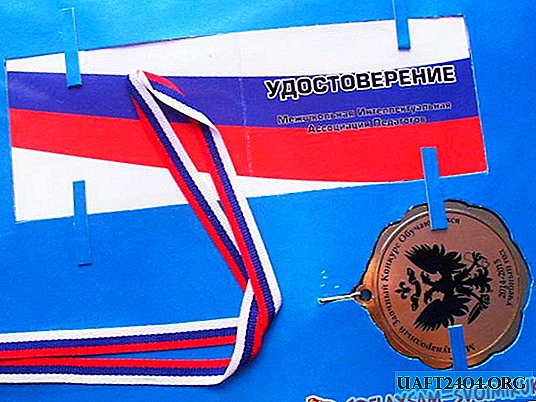
In the section "My Documents" we insert files with certificates, certificates, diplomas confirming the participation or victory of the child in olympiads, competitions, marathons. Here you can also place newspaper clippings with articles about the children.

The section "My rewards" may not be, if the child does not have medals, certificates, certificates. In this section, you can place scanned copies of the prizes received (for example, books, pens with the name of the contest, etc.).

The section "My works" contains competitive essays, research works, archival materials collected for the family.
In the “My Creativity” section, we place files with the child’s drawings, scanned copies of his crafts, applications and other leisure activities.

In the section "My impressions" we put files with recorded stories of the child about excursions, competitions, trips.
The "Reviews" section may contain characteristics from the school, various sections and circles, wishes and recommendations of friends and classmates, heads of trips and expeditions.
A flash media with copies of presentations prepared by the child, photographs of his school and extracurricular life, not included in the "I'm in the team" section, is embedded in the "Electronic Portfolio" section.
2. The box.
Fifth stage: we form the basis.
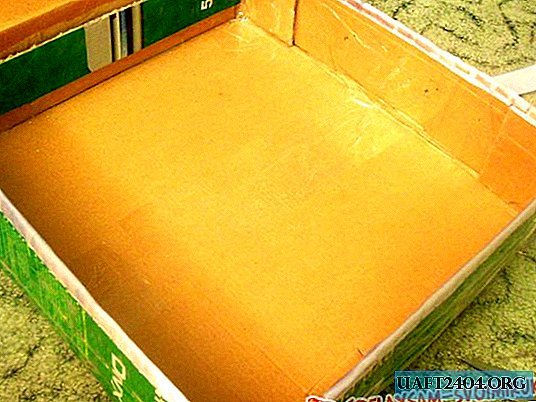
We take the box in size larger than the registrar folder.
Stepping back from the folder a couple of centimeters, make a cut to the edges of the box.
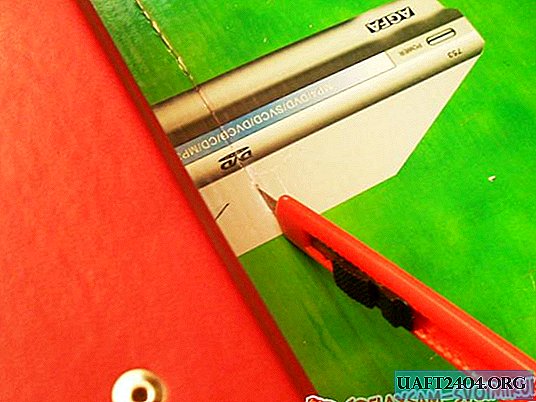
We cut the tank of the box at a greater distance, since these will be bends inward.
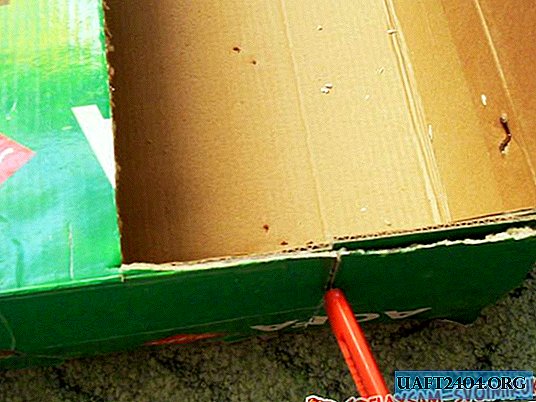
We cut the bottom of the box so that it can form a bend up from it (this will be the side of the portfolio box).

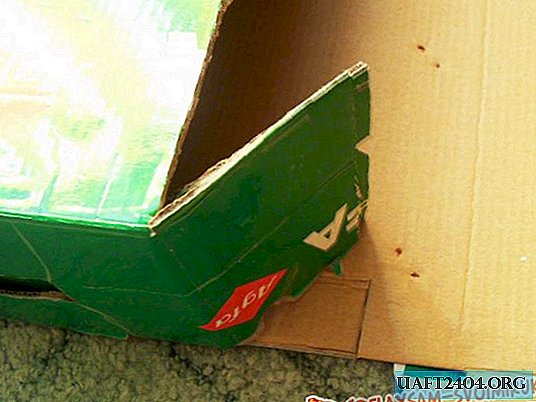
Cut the top of the box from the edges and form the cover of the portfolio box.


We bend the side part (the one that was cut off larger) upwards and fasten the adhesive tape to the main body.

It turns out here is such a box with a lid - a lid.

From the inside, around the entire perimeter of the box, glue the side part with tape (to fasten all the bends).

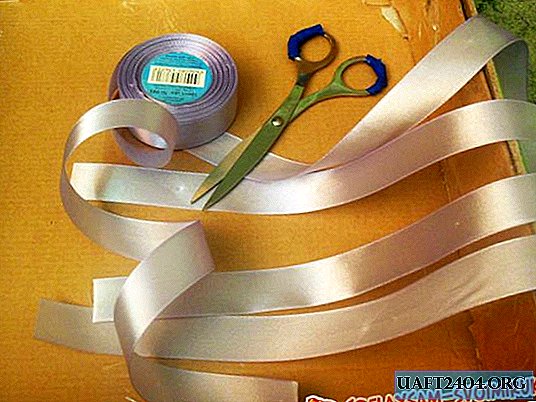
Sixth stage: mask the edges.
We cut a wide satin ribbon to the size of the edges of the box.
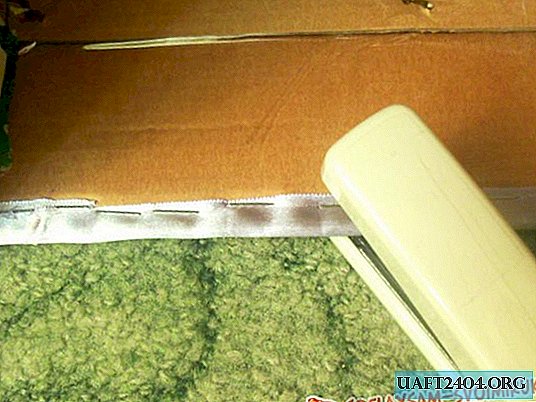
We fix it with a clerical stapler, wrapping the edge of the box. The main thing is to control that the tape is captured by the stapler on both sides of the bend.
At the bend of the box lid, apply glue "liquid nails".

Glue a wide satin ribbon, leaving the edges free. Later they need to be bent to the front side of the cover.
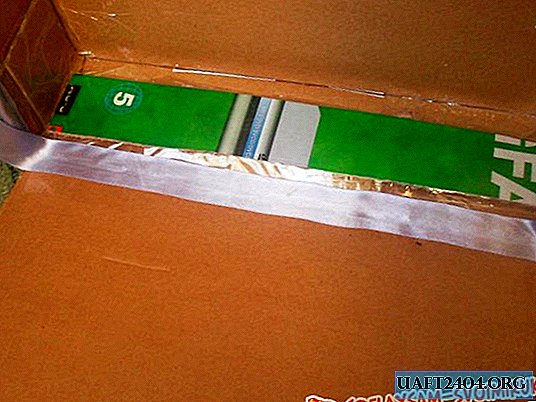
Similarly, we fasten the satin ribbon with a spapler to the edges of the lid.

Seventh step: create a texture.
At the bottom of the box with a fine mesh we apply glue "liquid nails". If initially the bottom of the box is whole (not torn) and not glued with adhesive tape, then instead of "liquid nails" you can use liquid PVA. We put wrinkled pieces of toilet paper on top of the glue, squeezing it into the glue and spreading it evenly along the bottom.
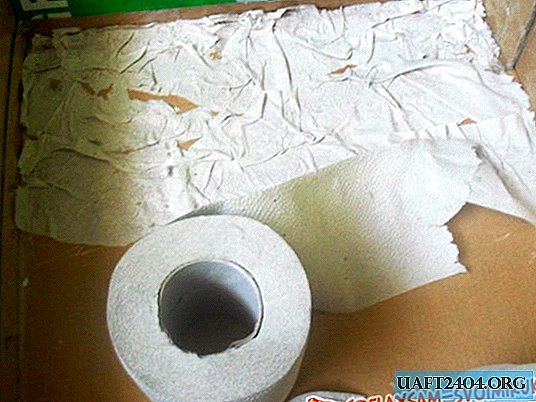
PVA will not fix the paper on the adhesive tape, so we put "liquid nails" on the sides of the box. Decorate them with crumpled toilet paper. Gently close the stapler clips on the satin ribbon with toilet paper.
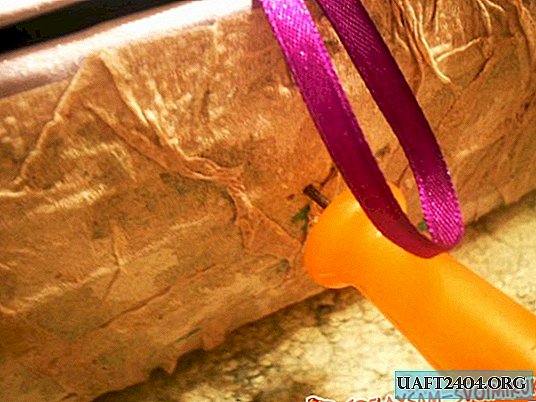
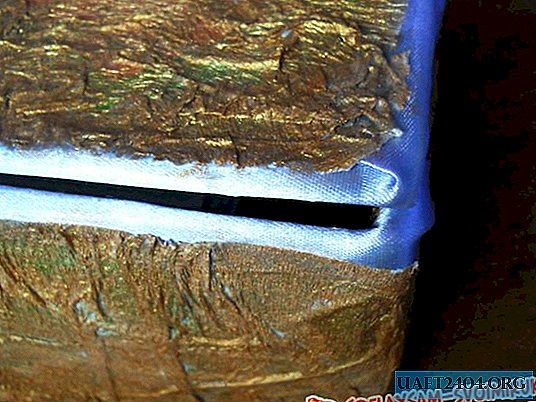
In the center of the edge of the lid on the inside, we attach a loop of a narrow satin ribbon with a stapler. We fix the attachment points with tape.

In the center of the box cover on both sides we glue rectangles with the name of the box and surname, name of its owner. In order to preserve the recording, stick the paper with tape. We cover the free places of the lid with crumpled toilet paper, after applying glue “liquid nails”.


The eighth stage: a fastener.
Pass the aluminum wire into the leg of the large button.
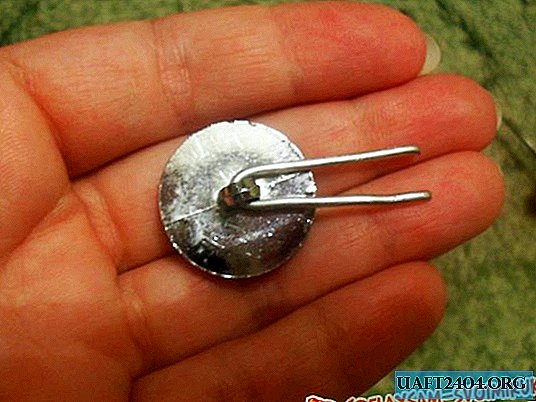
We lower the loop down and just above its end we make two through punctures in the side of the box (at a distance of 0.5 centimeters from each other).
We insert the edges of the wire into the punctures (buttons sticking out of the legs) and bend them from the inside of the box, directing each other.
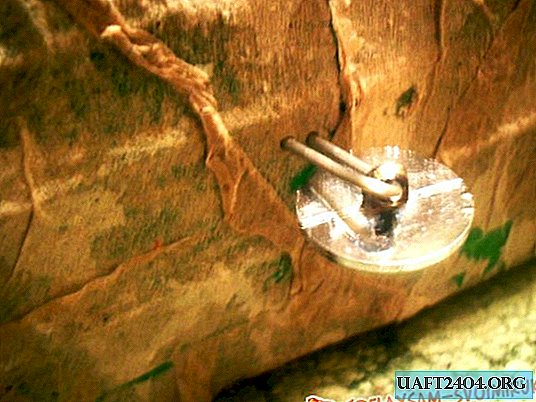
We hide the wire under the toilet paper (by applying a little glue and gluing a small piece).
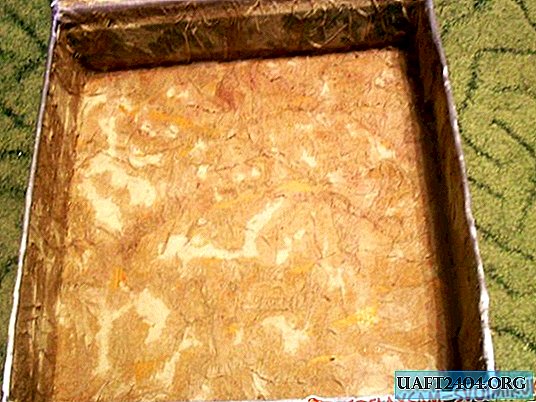
Stage nine: paint.
Dry the glue soaked through the creased toilet paper. Paint "gold" carefully paint over all the folds of toilet paper.

Solemnly put the portfolio in a box.
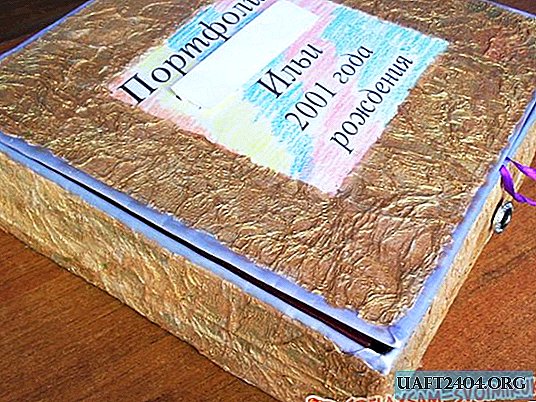
Now all the achievements of your child are not only neatly laid out and carefully stored. They can be proudly shown to relatives and guests as another masterpiece of the family archive.
Share
Pin
Tweet
Send
Share
Send