Share
Pin
Tweet
Send
Share
Send
To sew the box, we need to take:
• Binding cardboard 20 * 20 cm two sheets and 5 * 20 cm;
• White cardboard;
• Fabric in pink, pink and white stripes and pies on a white background;
• Scrapbook paper pink with stars and a pink and white strip, two sheets of 30 * 30 cm;
• Scrapbook paper in beige color 15 * 15 cm, two sheets;
• Picture with a cat;
• Napkin pink;
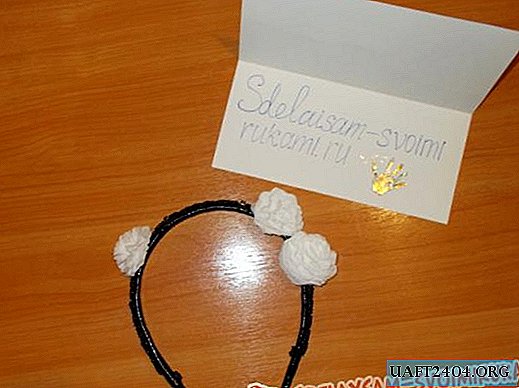
• Pink knitted flowers;
• Metal crowns;
• Brads metal with pink stones;
• Brads are pink metal;
• Watercolor paper square size 36.5 * 36.5 cm;
• Curb hole punch;
• Cotton pink lace;
• Cards printed with the metric and name of the child;
• Ruler, glue stick, scissors, simple pencil, ink pad, adhesive with the effect of adhesive tape;
• Sintepon;
• Double-sided tape;
• Cut down flags, butterfly and pink flowers;
• Lighter.

The casket itself will be made at the base of binding cardboard, so we first need to make one piece for the casket from three parts. We take square blanks and a narrow rectangular one, we also take two strips of white cardboard 4 by 20 cm. We evenly and densely fold bookbinding blanks.


We spread cardboard stripes with glue-pencil and glue one piece between each other.


Now we smear the binding base with glue stick and paste a synthetic winterizer on it.


Thanks to the synthetic winterizer, our casket will have a soft and pleasant to the touch texture. Now take the fabric, put it vertically.


We cut two different pieces of fabric of 13 * 50 cm. We cut more so that we have reserves for wrapping. We will sew lace between the fabrics, so we cut off the 50 cm strip. We will use the satin ribbon to tie the casket, cut off the cuts of 20 cm.


Smooth ribbons, fabric and lace well. Now we sew the fabric together, sew the lace on the joint.

The fabric was laid out on the table, face down, we put the billet with a padding polyester down.


We smear the corners with a pencil, they are beautifully wrapped and glued.


Then we smear, wrap and glue the side storages.


And then spread on top and bottom, pulling the fabric slightly. On the sides of a double-sided tape, glue a striped tape.


We fold the box, check all the irregularities in the fabric, they should not be.


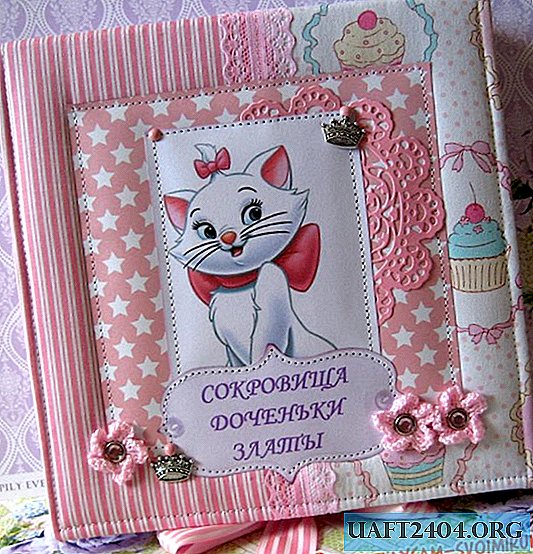
On the top of the box we need to try on the design. From scrapbook paper we cut a square with stars 14.5 by 14.5 cm, a picture with a cat, a napkin and a tag card with the name of the child.


In this sequence, we will collect the design, glue it and sew it. We sew everything, also along the edge we sew the entire lid of the casket.


Now we need to fix the crowns on the brads, as well as insert the brads with pebbles inside the knitted flowers and fix them at the bottom of the box.


Now we need to cut out a 19.5 by 30 cm rectangle from scrapbook paper. With this rectangle we will draw up the box inside.


We glue and sew the child metric on this rectangle, then glue the flags at the top.


Glue this rectangle inside the box. Now we need to put the cover under something heavy. In the meantime, in the meantime, we can make the box itself from watercolor paper, which we then paste into the box cover.


We need to divide the watercolor square into identical parts from all sides, divide it into such parts 4.5 cm by 5 cm by 19.5 cm by 5 cm by 4.5 cm. Draw lines with scissors under the ruler, fold the workpiece and cut the excess corners .


Inside the bottom of the box, cut out two scrap parts, punch one side and glue it into one rectangle.


We flash the bottom. Now we add and glue the box according to the angle tails.


Now we need to glue this box into the paperback. We glue it in, smooth it out well, close it, and also put on top something that is not very heavy, but so that the casket is well fixed. Glue the flags, butterfly and flowers inside.


The box is ready. You can put photos, various little things in the child into it, or you can make a lot of different boxes with inscriptions and store things of your baby separately in this box. Thanks for your attention!


Share
Pin
Tweet
Send
Share
Send