Share
Pin
Tweet
Send
Share
Send
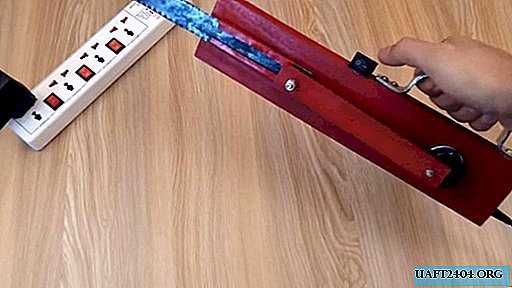
Today's homemade product is a kind of power tool designed for sawing small wooden parts. It is based on a wide sheet of metal from a hacksaw. Similar ones exist with large teeth, for faster sawing.
We collect materials and tools
For work, we need:
- Wooden block 30x7 cm, about 2 cm thick;
- The blade for the hacksaw is wide;
- A small segment of mild steel sheet;
- DC motor for simulation;
- Wooden rail for traction and substrate:
- Gear with landing hole 3 mm;
- Push button switch;
- Socket for adapter;
- 12V adapter;
- Superglue and carpentry (PVA);
- A piece of an old camera from a bicycle;
- Several wires, bolts with nuts and one window handle.
Instruments:
- Drill with a core drill for the diameter of the engine housing;
- Turbine or electric emery for grinding teeth of the blade;
- Hot glue;
- Soldering iron with solder and flux;
- Spanners;
- Knife, screwdrivers, pliers.
We assemble an electric saw
A wooden block will serve as a handle for our electric saw, so it must be prepared. This is not just a piece of raw board. It is desirable that it be exactly planed, with the same width of the ribs and planes.

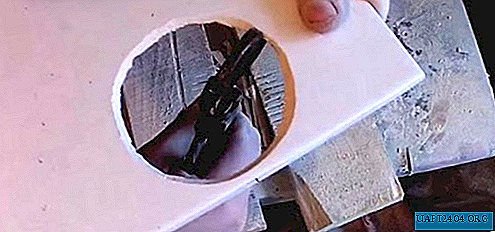
We take a drill and make a hole in it with a crown mill under the engine.


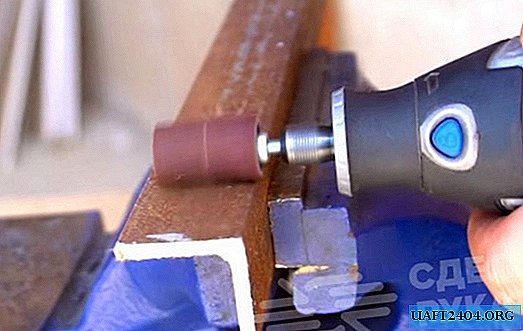
Now prepare the hacksaw blade. He needs to grind the teeth literally to the middle. This must be done on both sides by applying a turbine with an abrasive nozzle or electronically.


Next, we work with a piece of steel, which must be bent like a sheath from the edges. It is in such "sheaths" that the ground part of the hacksaw blade will move. Mark out a piece of steel and bend it with pliers.


To prevent the blade from adhering too much to the handle, you must secure it through the gasket. We make it from a thin wooden plank, which we cut to the size of the iron guides for the canvas. We install this piece of plank on carpentry glue or PVA.


We attach guides, and place several mounting holes with a marker. It will be necessary to drill them with a drill.


We fasten the guides with two self-tapping screws, and cover the handle on all sides with spray paint. Unforgettable is also to paint and traction made from the remainder of the wooden plank.


It was the turn to fix the engine. The hole for it was made with a margin, so that it holds firmly, we use a piece of the old bicycle chamber as a gasket. Excess pieces of rubber protruding from both sides, cut off with a knife.


For the traction to work, we will need to fix a small plastic gear on the engine shaft. We use superglue for this.


The connection of the gears and traction will be put on the bolts. To do this, we fix the lead bolt at the base of the canvas, and press it with a nut and a lock nut so that it does not untwist.


In the gear, we make a hole with a small drill for the next connecting bolt. We insert it into the gear and also tighten with nuts.


We mark the tie rod according to the minimum size between the two bolts, and drill a hole under it.


We fix the rod in the same way on the nuts, but so that it moves freely on the swingarm.


We fix the window handle on the upper edge of the handle for the convenience of working with the tool.


We fix the button-switch with hot glue and a gun. We also attach an adapter slot.


Using several wires, we assemble an electric circuit: adapter socket-switch-engine. Solder the contacts with a soldering iron.


We connect the adapter to the socket, and check the operation of the tool. Now you can saw something off)) ...


Afterword
Despite the apparent frivolity of such homemade products, it is worth noting that each of them had a need for the appearance of this tool, and for some reason - financial or some other - was more relevant than a professional tool. In any case, such home-made products are dedicated to everyone who does not like to sit back and dream while the work is standing and nothing is being done, because there is nothing. Bye everyone and have a nice day!
Share
Pin
Tweet
Send
Share
Send

