Share
Pin
Tweet
Send
Share
Send
I think that this problem is already familiar to everyone, when one fine day you take your screwdriver, turn it on, and it does not work. Next, the first thing you try to put it on charge, assuming that the batteries are simply exhausted. But there it was: charging does not bring results.
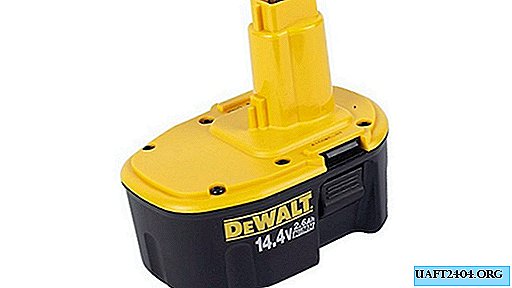
This problem is as old as the world. The thing is that inexpensive screwdrivers use relatively cheap nickel-cadmium (NiCd) batteries. They are quite whimsical and with improper operation immediately go out of order.
I suggest you restore your screwdriver so that it is like new. To do this, we simply replace the batteries with similar or better quality.
Although on the Internet most people recommend changing batteries to lithium-ion (Li-ion), but I am not a supporter of a complete rework. After all, you can’t replace them just like that, since lithium-ion batteries need to be charged differently, a charging controller should be introduced, a different power source used, etc. And the case of the batteries themselves will undergo significant changes. No, I just recommend changing the batteries to the same ones, it’s much cheaper and you don’t need to make a fuss and invent anything.
Will need
On AliExpress, we purchase the required number of nickel-cadmium (NiCd) batteries.

As you can see, the prices are quite reasonable. Search for your size and quantity. I ordered 12 pcs. The total voltage of the former unit is 14.4 V. One element is 1.2 V. Simple math 1.2 x 12 = 14.4 V.
We restore the battery of a screwdriver
Well, now we proceed directly to the restoration of the screwdriver. Remove the top cover of the battery pack.

Count your number of items. It is also not superfluous to write off the brand of batteries used.


In order not to forget how the batteries are placed inside, I made a kind of map on paper with their location and poles. Do the same so you don’t have to rack your brains later and think what’s going where.

Now you can disassemble this bundle to release the power terminals, which will be needed just then.

Here is the complete chain.

To connect the elements, I took the shield wire from the old USB cable.

Cut it into even pieces.

Well tinned everyone.

Everything is ready to replace one with another.

Putting the chain together. Solder these segments of the battery with each other, according to the previously drawn scheme.

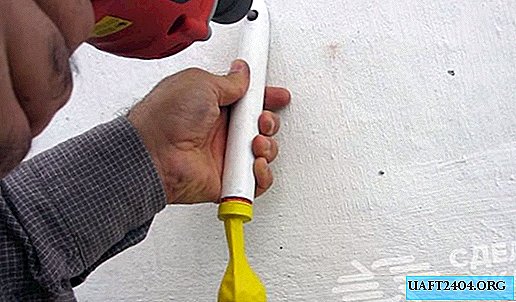
In general, closed-type batteries do not solder. Jumpers must be welded by contact welding. But since it is not available, take a powerful soldering iron and quickly solder it.

We smear the pole with the flux, put a jumper and solder it quickly with a hot soldering iron, holding the tip for no more than 1-2 seconds.

At the end, we glue back the general insulating gaskets on both sides and assemble the block in the reverse order. We measure the voltage at the output terminals. It should be in the region of 14.4 V. If so, then the sequence for turning on the batteries is correct. We set to charge.

So, simply, without unnecessary manipulation, you can return to work a screwdriver, which will last a very long time, if you follow it properly.
Share
Pin
Tweet
Send
Share
Send