Share
Pin
Tweet
Send
Share
Send
Necessary materials and devices:
- Chip IC 4017 (counter for 10 decoders 4017) On Ali Express there are real pennies - //ali.pub/3g7mix.

- Flashing LED (red) You can also take 100 pcs on Ali. at a very modest cost - //ali.pub/3g7mft.
- 10 LEDs of any glow.
- 330 ohm resistor.
- 470 ohm resistor
- Connecting wires.
- Soldering iron.


Scheme and principle of operation
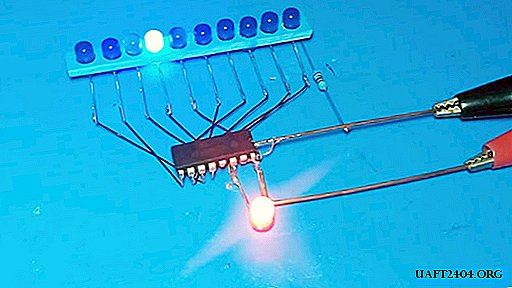
A flashing LED gives one pulse in 0.5 seconds. This pulse is fed to the input of the chip. The microchip reads this pulse and sends it alternately to the outputs. Each impulse goes to a new exit, sequentially from the first to the tenth. After the tenth exit, the counter is reset, and the process starts again. Thus, the effect of running lights is obtained.

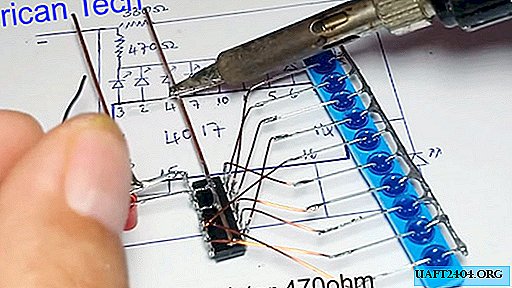
Making simple running lights

LEDs can be positioned freely and held by wires. But for convenience, it is better to make a body for our lights. Take a piece of plastic, drill ten holes in it. Cut off the excess, leaving a thin strip.

We expand the antennae of the LEDs, and insert them into the holes of the plastic.

The contacts of the LEDs located on one of the sides are soldered to the jumper.


We cut off the contacts protruding from the jumper.


Next, we assemble the circuit according to the figure.


- pin 3 of the microcircuit is soldered to the first LED;
- pin 2 - to the second LED;
- pin 4 - to the third LED;
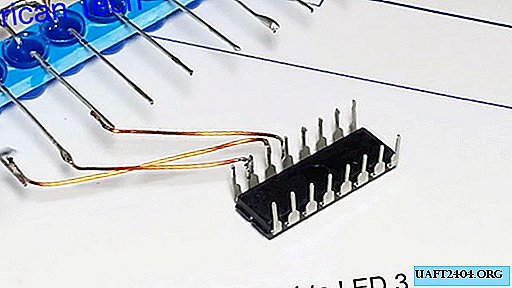
- pin 7 - to the fourth LED;
- pin 8,13,15 we connect with a jumper and output to minus "̶", it is more convenient to bend these contacts inward and solder the bottom of the chip.
- pin 1 - to the sixth LED;
- pin 5 - to the seventh LED;
- pin 6 - to the eighth LED;
- pin 10 - to the fifth LED;
- pin 9 - to the ninth LED;

- pin 11 - to the tenth LED;
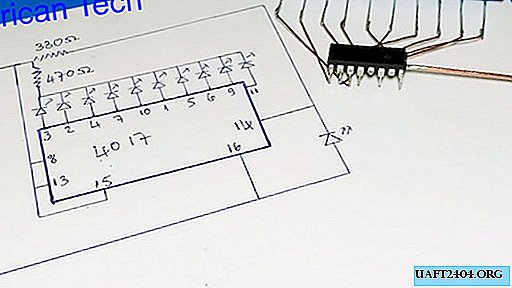
- solder the red LED to pin 14 and 16 of the microcircuit;
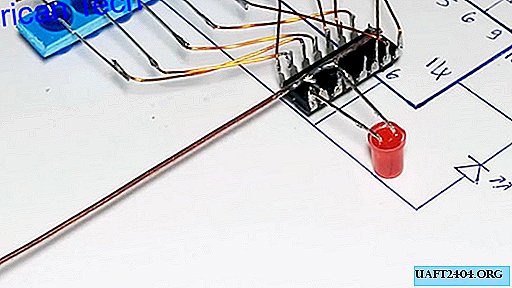
- and to pin 16 we solder the wire to the plus "+";

- solder a 470 Ohm resistor between the closed contacts of the LEDs and the negative terminal;
- solder a 330 ohm solder to the negative wire and pin 14 of the chip;
- the appliance is ready.


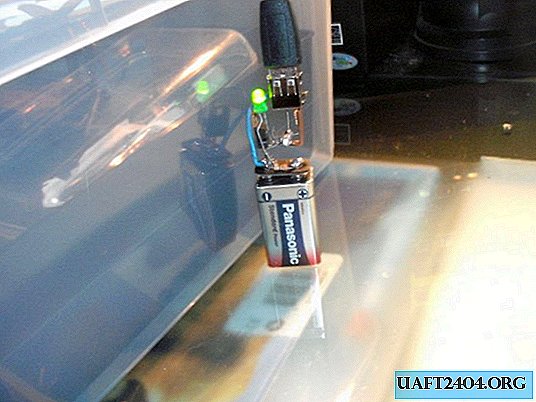
We apply voltage from 5 to 12 volts to the circuit outputs. To do this, you can use the power supply or conventional batteries and accumulators. Enjoy the result.
Recommendations
If you have only regular finger batteries at your fingertips - 1.5 Volts each, you can combine them to achieve the required voltage. To the plus of one battery we connect minus the second, to the plus of the second - minus the third and so on. This is called a serial connection. To achieve a voltage of 6 volts, we need to connect in series 4 batteries of 1.5 volts.
When connecting running lights from the power supply, you need to make sure the polarity and voltage level. Usually all information is printed on the block body. If there is no such information, you must use a voltmeter. In the voltmeter, the contacts are signed, usually plus red, minus black. If connected correctly to the power supply, the device will show a positive value, for example 12 volts. If the plus and minus are mixed up, then the voltmeter readings will be negative, that is, with a minus sign, - 12 Volts.
As the IC 4017 chip, you can use the domestic analogue - the K561IE8 chip. It is better to use a flashing LED in red - it has a higher pulse voltage. Two-color flashing LEDs cannot be used, the circuit will not work with them.
Safety precautions:
- Be sure to observe the polarity of the device.
- If there is no marking on the power supply and you have nothing to check the voltage that it gives out, you can not use it.
- Before use, the entire running fire circuit must be hidden in a housing or insulated to prevent short circuits.
Share
Pin
Tweet
Send
Share
Send