Share
Pin
Tweet
Send
Share
Send
When working with a tree, the presence of a basic set of tools is insufficient to perform the full range of possible tasks. Many things can be done only by using ingenuity, tricks and home-made appliances. Consider 6 useful secrets that can improve the quality and convenience of woodworking.
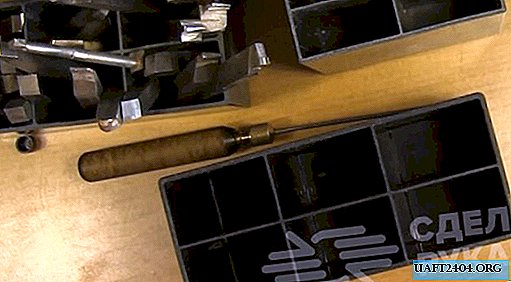
Manual surface gage for longitudinal marking in the center
The first fixture is used for fast longitudinal marking of rails and strips in the center. Such a tool works on the principle of a manual leveling device, but does not provide for adjustment.
To make it, you need to take a small bar with the correct geometry. It is marked in half lengthwise and crosswise. At the same distance from the drawn crosshairs, it is glued along the dowel in the prepared holes.
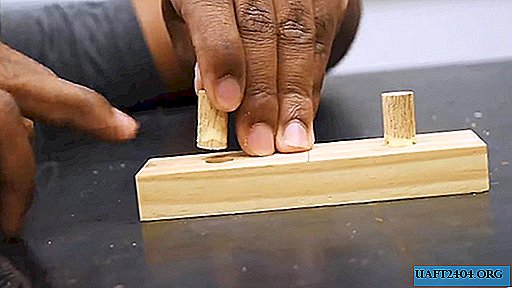
They need to be set exactly 90 degrees. After the glue dries, a self-tapping screw is wrapped in the crosshair so that only its tip comes out of the bar.

For marking, the tool is applied to the rail from the side of the dowels and turns to the side so that they rest against the bar. After that, it is carried along, from which a scratch remains on the wood, made by the tip of a self-tapping screw.


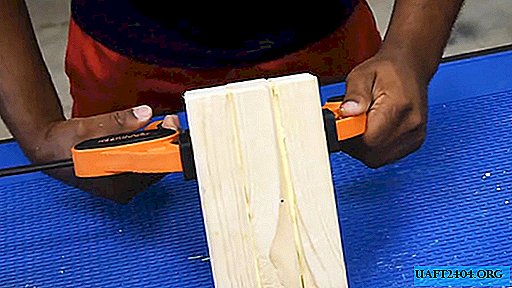
Clamp with rubber band
For gluing an edge, profile or rail to the ends, it is convenient to use a modified clothespin clip with an elastic band. To do this, holes are made in her lips through which a rubber ring is wound. For tension, its edges are hooked on the clothespin handles.


An advanced clamp presses the end plate with an elastic band, and the spring on its jaws prevents the tool from loosening and moving away.


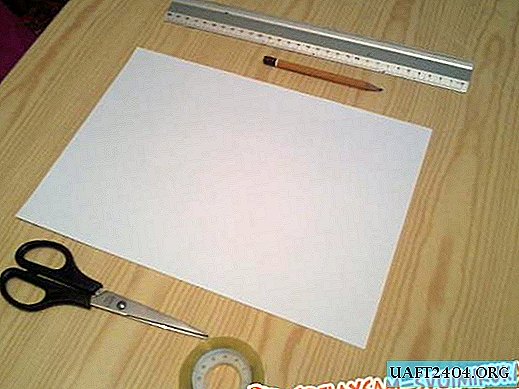
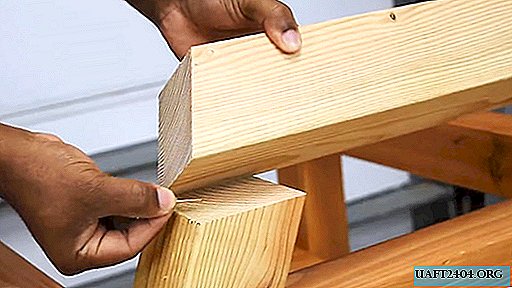
Corner pattern for furniture assembly
For assembling furniture at an angle of 90 degrees, you can make simple patterns. Isosceles triangles are cut from plywood or board. Their corners need to be cut down about 1 cm from the tops. In triangles, 3 holes are drilled with a drill for installing loops.


Through them, elements that need to be connected to each other at 90 degrees can be clamped to the template with a clamp.


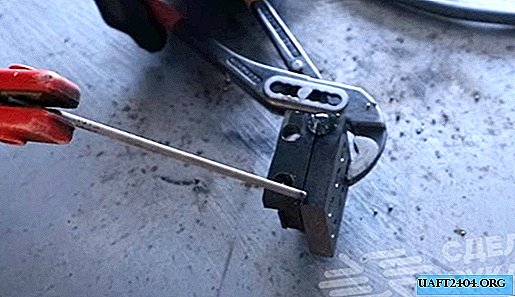
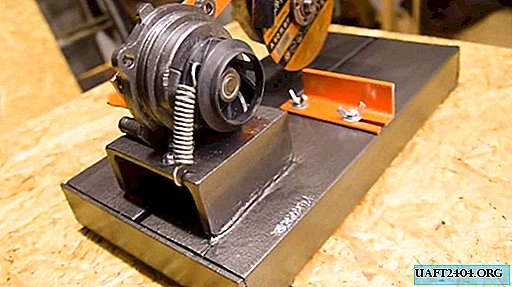
Adjustable stop for miter saw
When trimming a large number of identical long blanks, special emphasis can be made. It is made of a lath and a bar with a selected quarter for its size. The beam is fixed on the rail with a clamp, and is used as a stop for blanks.


Salt and glue
When gluing blanks and compressing them with a clamp, they tend to slip. To fix the elements to be glued, preventing their displacement, coarse salt is used. It is sprinkled on the glue, after which the workpieces are applied to each other and no longer slip, since the salt acts as an abrasive.


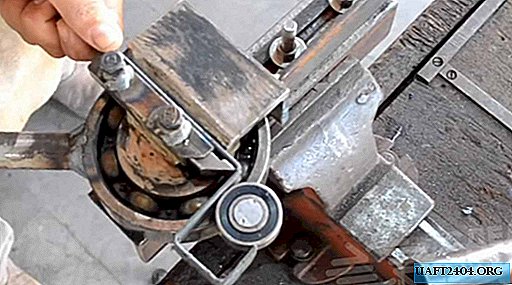
Centering holes with a nail when drilling

If necessary, to connect the parts with a dowel, it is necessary to make through holes through it. In this case, it is difficult to achieve that they are opposite each other. To solve this problem, you will need a small carnation and masking tape.

The nail is glued flat with adhesive tape to one of the connected blanks. His hat should be opposite the desired hole. Further, attaching the blanks and squeezing them strongly together, the imprint of a hat will remain on them.

Holes made on such marks coincide with each other.

Share
Pin
Tweet
Send
Share
Send