Share
Pin
Tweet
Send
Share
Send
If welding is to be performed outside the workshop, then moving such a bulky “farm” will not be easy without a special trolley, the manufacture of which we will now proceed.
Will need
It is necessary to prepare the following materials and products in advance:
- profile pipe - rectangular and square;
- steel equal-angle corner;
- steel sheet 3 mm thick;
- self-aligning wheels with brake - 2 pcs .;
- large wheels - 2 pcs.;
- studs and bushings - 2 pcs.;
- pipe section;
- set of bolts, nuts and washers;
- spray paint in spray cans;
- spray from sparks and spray of metal;
- rubber mat;
- chain section with a clamp.
In working on the trolley, we can not do without the following tools and devices: a pendulum and circular saw, grinder, magnetic corners, welding, square and tape measure, pliers, a vice of locksmiths and clamps.
Welding trolley manufacturing process
We dissolve the profile rectangular pipe into blanks under the frame of the base of the trolley with a pendulum saw. We clean and cut the ends of the workpieces for welding using a grinder.

We assemble the base frame with a transverse jumper closer to one edge, using magnetic corners. We check the accuracy of the connection with a square and tape measure, and only then do the welding. We clean welds with a grinder.

We cut the corner into blanks in pairs for two frames of trolley shelves. We assemble and fix them to the workbench table with clamps, and then weld them in the corners. We also clean the welds.


From a square pipe, we cut the blanks of the racks of the welding trolley - two long and two shorter. We weld them vertically to the base frame using magnetic corners and checking the accuracy with a square.

To the racks at a given level, using clamps, we weld the frame elements of the lower shelf, then the upper and the jumper between the long racks on the top.


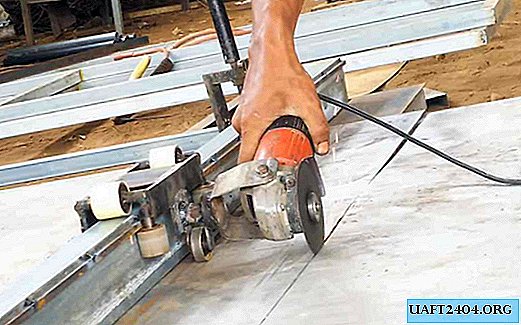
We cut a strip of the required width from a metal sheet with a circular saw and cut it into the necessary parts.

Brew the corresponding parts of the sheet bottom of the base frame, middle and upper shelves, making cuts in the corners.
We weld two self-aligning wheels with brakes to the base frame from the bottom in the corners.


In the rear of the base frame at the level of the transverse jumper, we weld the studs - the axles of the rear wheels. For durability of fastening of axes we impose on them segments of a square pipe with a recess in the middle and weld them to the axes and frame.
We put washers, bushings on the axis, big wheels on them and tighten with nuts.


To the ends of the longitudinal elements of the frame of the upper shelf we weld a pipe segment - the handle of the cart.

From the blanks of a rectangular pipe, we assemble the frame of the folding table and, after checking the accuracy of the assembly, weld the joints.

We weld the brackets from a rectangular pipe, which are welded to the racks from the bottom of the upper shelf, to which the folding table will be fastened with bolts thanks to a nut welded inside the profile.

We lightly grab the legs of the table by welding to the longitudinal elements from the outside and drill through holes for the bolt, onto which we wind and weld the nut from the inside of the frame profile.

We cut off the “tack” with a grinder and make sure that the legs can be freely folded and folded, after which we tighten the bolt with a key.
We put a pre-cut sheet of metal on the frame of the folding table and grab it in several places around the perimeter to the frame.
We weld closer to the bottom of the legs and in the middle of the cross-member from the corners to increase rigidity.

We weld into the ends of the legs adjustable screw supports with heels, with which the table can be installed on an uneven surface.
We weld plugs on the ends of the profiles, and limiters for the legs. Then we process it with a hand file.


From the bottom of the bolts around which the legs rotate, we drill through holes where we insert the bolts to fix them in the working position.
Finally we remove all roughnesses, roughnesses and influxes of metal from welding with the help of a grinder and a grinding wheel.
We paint all surfaces with spray paint from the spray can and after drying, polish the surface of the folding table and cover with a spray from metal spray. Then wipe it with a cloth.
We put a rubber mat on the bottom of the compartment for the gas cylinder. So that the container does not fall during transportation, we provide a chain on top, which is fixed at one end to the frame and the other is removable.

To secure wires, hoses, masks, etc. to the trolley, welders, brackets, holders, and hinges are welded in the required places.
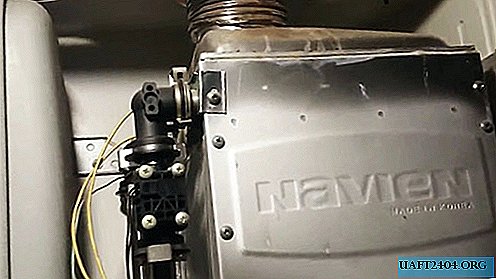
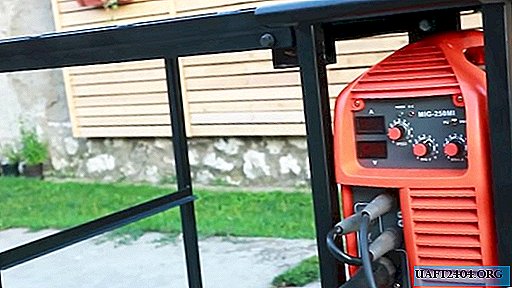
We put the power source of the welding arc on the middle shelf, hang a grinder, drill, etc. on the strip between the racks. The lower shelf is designed for electrodes, welding ammunition, etc. We hang the welder's mask on a hook welded from above to the cross-bar between the high racks.


Having put everything necessary for welding, we move the welding trolley to the place of work, we brake the front wheels, we lay out the table, we lock the legs with bolts and proceed to welding.


Share
Pin
Tweet
Send
Share
Send