Share
Pin
Tweet
Send
Share
Send
To make the connection durable, reliable and safe, we will make simple life hacks with which you can perform tight twisting of wires and high-quality tinning, regardless of your qualifications as an electrician.
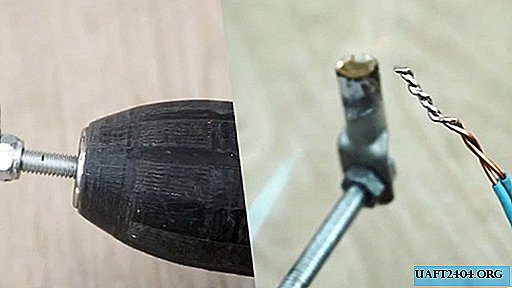
Wire tinning device
Usually a soldering iron is used for this operation, but only a person with experience can do it in a quality manner. To make the fixture, through which tinning will always be excellent, we need:
- steel pin;
- metal clamp on bolts;
- end tip for crimping the cable;
- set of nuts;
- pieces of solder;
- rosin.

In the work on homemade work we use: a bench vise, a gas burner, pliers, a drill with a cutting disc and a wrench.
We clamp the pin in a vice and heat the protruding part with the flame of a gas burner until the metal softens.

Then, without losing a second, with the help of pliers we bend the end of the hairpin at 90 degrees.

We shorten the hairpin using a grinder with a cutting disc. For further use, leave the part with a bent end.
We disassemble the clamp and leave one half ring with an external nut.

We clamp it by the ears in a vise and straighten them with a hammer, making it a continuation of the ends of the half-ring and parallel to each other.


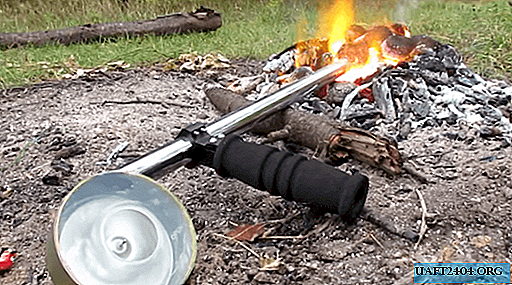
We put the modified half-ring with the nut down on the end of the nozzle of the gas burner and fix it with a bolted connection.

We twist the bent end of the stud into the outer nut of the half-ring and guide its rod along the longitudinal axis of the burner nozzle.

We screw the nut on the stud, then install the end tip and clamp it with the second nut so that it is vertical, and its cylindrical part is approximately at the level of the center of the gas burner nozzle.

We connect to the modernized gas burner a can of gas and turn it on. When the tip is sufficiently warmed up, lower the pieces of solder into it and wait for their melting.

Dip the wire twist into a jar of rosin and immerse in molten solder for a few seconds. The quality of tinning is always excellent.


Wire twist
To assemble it, we need the simplest and most affordable products:
- steel bolt;
- large flat washer;
- roving washer;
- self-locking nut.
In the work we will use: a plastic pattern, a center punch and a hammer, pliers and a drill with a drill.
Using a suitably sized hole in the patterns, we mark out a flat washer for drilling four holes that are evenly spaced around the circumference.
We mark the marked points with a core and a hammer. Then, holding the washer with pliers on a chipboard sheet, we drill with a drill four identical through holes.


We insert a bolt into the central hole of the washer, on the other hand, put a groove washer on the washer and tighten with a self-locking nut.

We clamp the free end of the bolt rod in the drill chuck and we can assume that our device for twisting the wires is ready to work.

We insert into the diametrically opposite holes in the washer the ends of the wire bent in half, holding it by folding with pliers, and turn on the drill.

The wires carried away by the puck are twisted into a dense pigtail.

In exactly the same way, you can twist both three and four cores. Unscrewed ends bite off with nippers or pliers.


Share
Pin
Tweet
Send
Share
Send

