Share
Pin
Tweet
Send
Share
Send
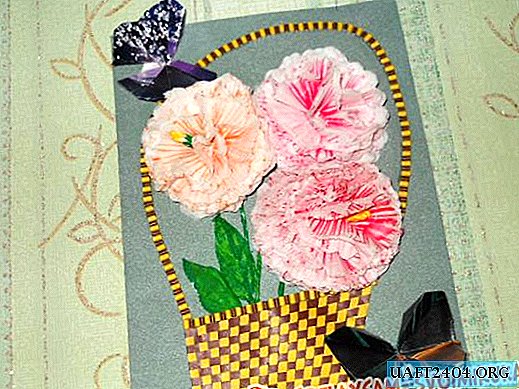
Today I want to share with you how to make one of the options for a bouquet for a bouquet using the volumetric application technique.
To make a basket we need:
• Colored paper in two colors,
• Ruler,
• PVA glue,
• scissors,
• Pencil.
We draw each of the sheets of colored paper, and then cut it into strips 5 mm wide and as long as possible.
If you find on sale ready-made paper strips for quilling, then you can completely use them.
After the strips are cut, you can start weaving the basket itself. Probably, each in childhood weaved something similar, intertwining strips of two colors. Therefore, I will not describe the weaving itself.
When you have assembled a rectangle that suits you in the size of the future basket, you can begin to give it a slightly slanted shape. To do this, the two sides of the basket should be slightly stretched, that is, create a slightly larger space between the strips, so that they stop lying in the weave close to each other.

If this form suits you in appearance and size, we glue all the joints of the strips as follows: turn the basket face down and drip a small drop of PVA glue for each joint. Let the basket dry. After that, we cut off all the excess strips, retreating from weaving about 15-20 mm. Gently bend the remaining ponytails on the wrong side of the basket and glue it with glue.

For the design of the basket, as well as for the manufacture of pens, we need to wind a large number of "barrels" of the same paper as the basket. For the "barrels" we cut the remaining strips of yellow in half, and brown into three parts.
I used an ordinary sewing needle to twist the barrels. Although there are special devices for working in the quilling technique. After twisting, the end of each "barrel" must be glued, otherwise everything will spin.
Glue the yellow and brown "barrels", alternating them in color, on the top and bottom of the basket.

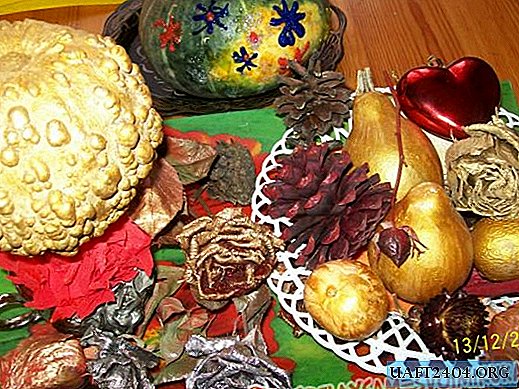
How it looks in volume, you can see here in this photo.

Glue the basket to the bouquet. Why do we spread only the bottom of the basket and glue it in place. When the bottom of the basket is glued, we glue the sides, so that the top of the basket slightly departs from the base of the applique, giving the basket the desired volume. Each side of the basket is best glued separately, allowing it to dry.
Now we lay out the handle of the basket with the same “barrels”, alternating them in color as well. For convenience, you can pre-draw a line where the handle of the basket will go.

Our basket is ready. On the handle you can plant a butterfly or decorate it with a beautiful bow.
Share
Pin
Tweet
Send
Share
Send