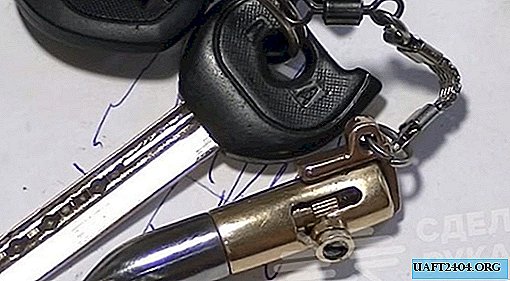
From scraps of a metal strip you can make yourself a very simple, but at the same time, a useful marking tool. This device is useful in any home workshop or garage when performing various carpentry work.

With the help of a homemade malka, you can not only markup, but also measure angles and draw parallel lines on the workpiece.
And although many masters will surely say that it is easier to buy malka for marking (and it is not necessary that it be made of metal - it can also be made of wood), a DIY tool will always be more pleasant to work with.
Marking tool manufacturing process
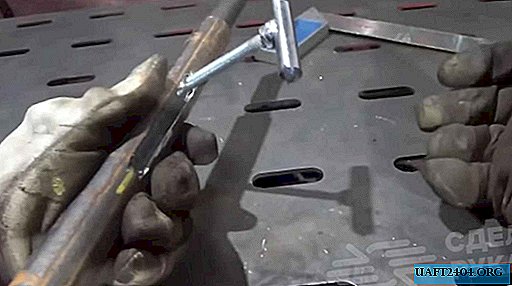
The first step is to cut off three pieces of steel strip: one short and two genuine. The edge of the short workpiece must be cut at an angle of 45 degrees.

Next, you need to drill three holes in it. The master fixes two long plates with masking tape, after which he also drills 3 holes in them, using a short strip as the main template.
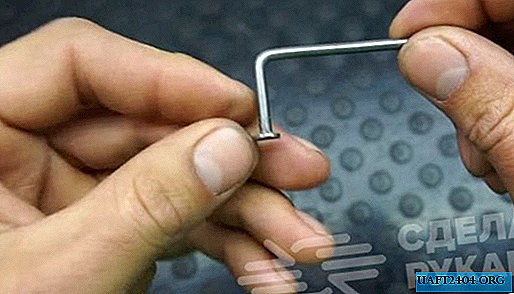
In the next step, it will be necessary to cut the threads in the drilled holes in all three plates. Then the workpieces must be connected using screws.

In the upper plate, you must first make potai. On the reverse side of the legs of the screws, the master cuts off the grinder.
After that, you need to cut another piece of steel strip and make a longitudinal slot in it. Then it remains only to drill a couple more mounting holes in two parts of the device, and you can proceed with the assembly.

For details on how to make a useful marking tool (malku) from strip scraps, see the video on the site.