If you are interested in the reconstruction of medieval weapons and armor of warriors, then make yourself a miniature "version" of the knight’s shield. Of the basic materials, you will need a piece of sheet metal (preferably galvanized steel or stainless steel) and rivets for the most reliable connection of the main elements of a homemade mini-shield.
Work sequence
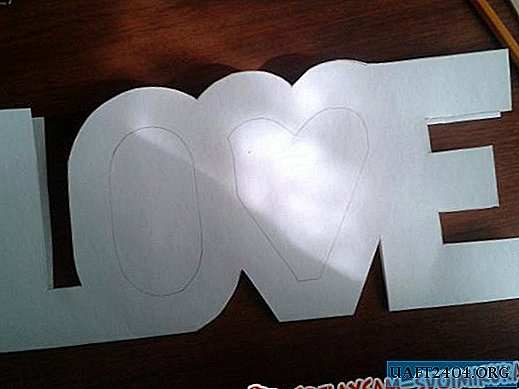
First of all, you need to draw a shield, a “bezel” and a cross on a piece of sheet metal with a thickness of 1-2 mm (by hand or using a paper template that can be downloaded from the Internet). Then carefully cut out all the workpieces with a manual or electric jigsaw with a saw blade for metal - it is advisable to use it with small teeth so as not to “tear” the metal.
The edges of the workpieces must be treated with a flat shallow file to remove burrs and smooth out all irregularities. Next, we grind the surface of the parts to a shine with sandpaper. At the next stage of work on the shield, edging and cross using a core, we mark and drill holes for rivets - you can make them from nails or use ready-made ones (steel, aluminum or copper).

Next, we proceed to the assembly: first, a rim is attached to the shield, and then a cross is inserted into the resulting window. On the reverse side, it is also necessary to make shield holding elements - from steel wire of a suitable diameter. For a detailed process of making a homemade mini-shield, see the video on the site.


