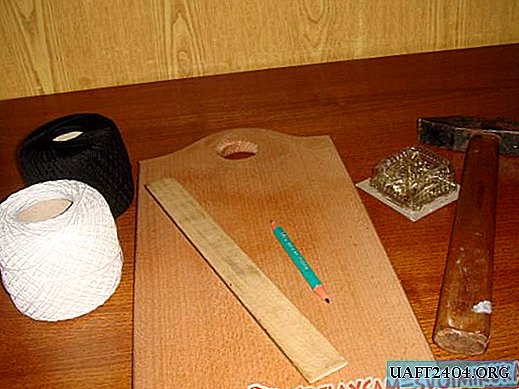
With the help of this homemade product, you can quickly and evenly apply markings on the surface of walls, boxes, drawers, round pedestals, etc. (that is, on any vertical planes). You can make such a marking tool from improvised materials: you will need two rods of steel round timber, a long hairpin, a rectangular metal plate and a piece of a round pipe.
The main stages of work
First of all, two long rods from the steel round timber must be welded together using two "shorts", and then we weld the resulting part to a rectangular metal plate at an angle of 90 degrees. On the other side of the plate you need to weld a small piece of pipe. We clean the surface with a grinder and paint.
Next, bend the hairpin in the shape of the letter "U" and proceed to the assembly of the device. We put a rubber plug on the pipe. We pass the hairpin into the slot between the round rods, and then fix it with the nuts and washers, having previously inserted a black marker into the “eye”.
To summarize
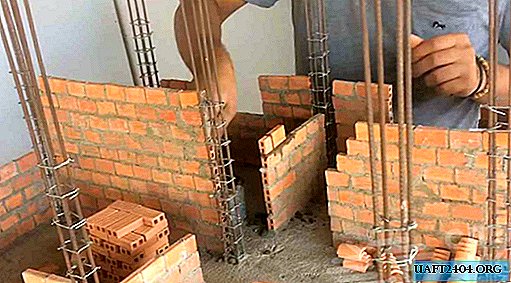
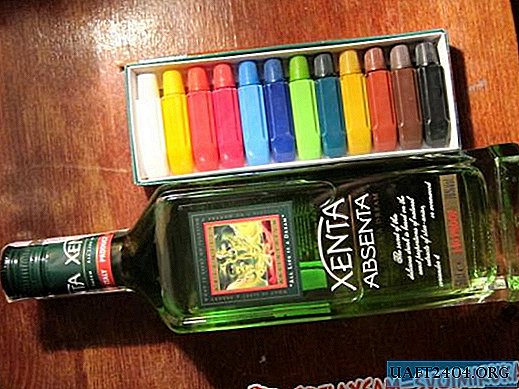
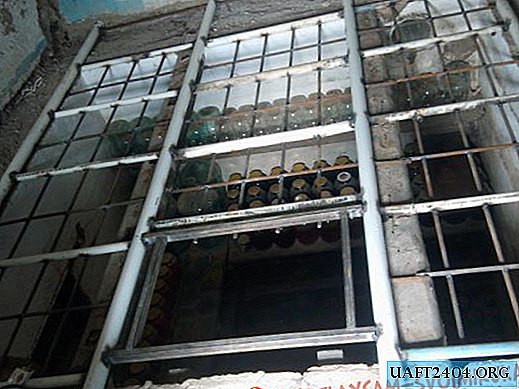
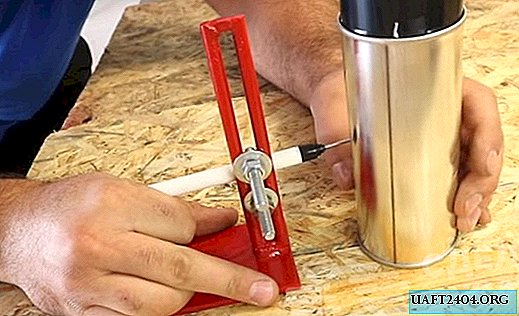
The device works very simply - we set the desired height and move the plate along the "object" on which you want to apply vertical marking: the walls of the room, a wooden box, a bottle or other blanks of glass, wood, plastic and metal. Also, using this device, it is convenient to mark the ceiling.

To quickly change the height of the marker, instead of conventional nuts, it is better to install wing nuts. See the step-by-step process of making homemade products in the video on the site. Write in the comments below the video what you think about this marking device: is it practical or easier to mark up in other ways?