If you fell into the hands of an old or very rusty ax, do not rush to send the find to scrap, because it can be restored. Moreover, this can be done in any workshop or even at home, if the necessary "gentlemanly" set of improvised tools is available.
Where to start the restoration of an ax?
First of all, you will need any belt sander - you need to first well process all the outer edges on it, and then the surface on the sides of the ax and on the butt. The inside of the ax, which is mounted on the ax, can be processed with a round file for metal. This work is painstaking, but the result is worth it, believe me.

After the file, you can additionally treat the inner surface with an electric drill with suitable nozzles. Places very affected by rust are preferably treated with a grinding disc for the grinder. Only here it is important to be careful not to overdo it and not to make deep serifs on the surface.
The final stage of work - etching
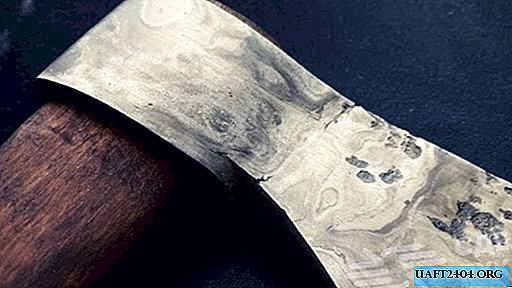
After grinding and polishing the ax, it needs to be placed for a while in a container with a solution of iron chloride. This is the safest way to pickle metal at home. Etching can also be carried out using other solutions (for example, with acids). Be sure all such work must be carried out in a well-ventilated place.

After that, it remains only to make an ax and put a restored ax on it. Of course, you can use such a tool for its intended purpose, but still it is better to “fix” such beauty somewhere in a visible place, and then show this rarity to friends.