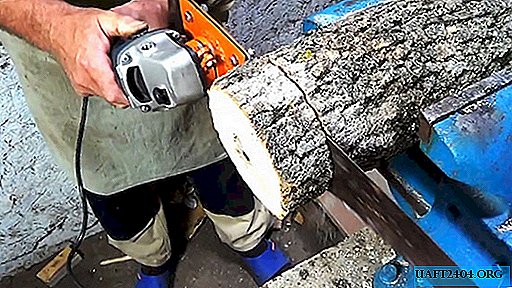
If the abrasive surface of the factory grinding wheel has deteriorated over time, do not rush to throw it in a landfill, because you can give it a second life. And this is done very simply, it takes a minimum of time, well, money can be saved, especially if you often have to do various grinding work at home or in the workshop. Why not give it a try?
How to make a grinding disc: the progress of work
First you need to remove the old abrasive elements from the surface of the disk - this can be done with a knife. Then you need to polish the entire outside of the circle well so that there are no bumps and bulges left.
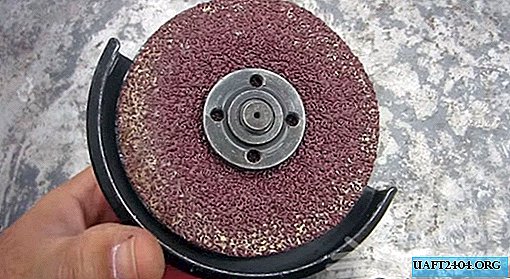
The next step is to prepare a new abrasive surface. To do this, you can use a piece of sandpaper of the desired grain size. Attach the disc from the grinder to sandpaper, circle the outline (including the central hole) with a marker or pencil, and then carefully cut the circle with scissors. It’s better to do a few laps right away so that there is a margin. A small hole in the center can be made with a conventional clerical knife.

After that, simply install the disk on the grinder, apply a prepared circle of sandpaper on top and press everything with a quick-tightening nut. That, in fact, is all - the tool is ready to work. Homemade grinding wheels will come in handy both at home and in the workshop. The most important thing is that they can be made very quickly and they will cost less than their store counterparts.