Share
Pin
Tweet
Send
Share
Send
Solar water heater (collector) - An indispensable assistant in the household. A collector of the right size and design is able to provide a family of several people with hot water, saving hundreds - thousands of rubles that are spent on electricity and other types of energy.
If your country house does not yet have electricity and gas, and heating the water presents a certain difficulty, I propose to make a solar water heater for showering and washing dishes from materials that can often be found in a landfill.
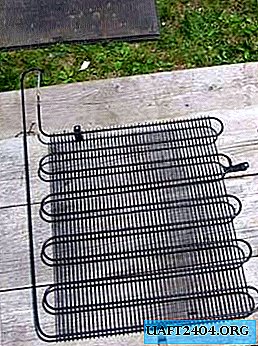
First you need to find a faulty refrigerator, namely, its coil is scolded, which is mounted on the back wall.

After the coil is removed, it must be washed with a jet of water to get rid of the old freon.
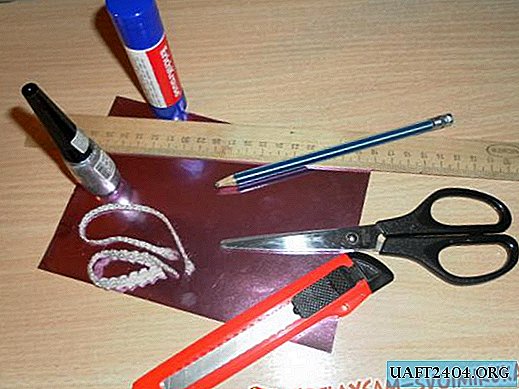
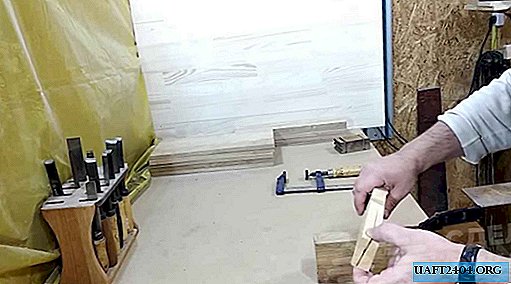
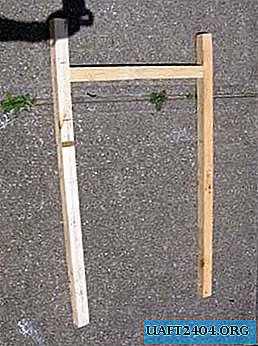
We stock up with slats, which we will need in the future for the manufacture of the frame.

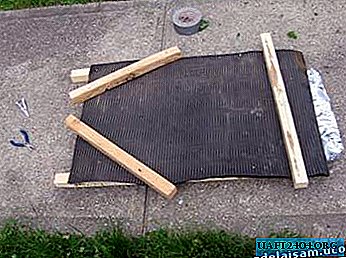
There was an old rubber mat, which is often laid under the door.

Glass is also not necessary to buy. It can be removed from the old window, which is usually thrown into the trash when replaced with plastic windows.
Since our rubber mat was too big, it was decided to trim it to the size of the future frame.

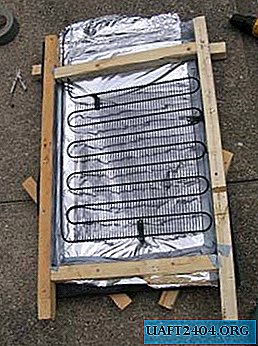
We knock the frame out of the rails so that the coil fits freely between the rails.
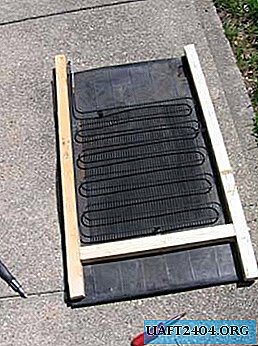
We try on a coil and a rubber mat to the frame. We mark the place of attachment of the lower rack of the frame and the place of cuts for the exit of the tubes.
We install the bottom rail of the frame, we grow the foil between the rubber mat and the frame.

On the back of the frame, we stuff the slats to give rigidity to the structure.
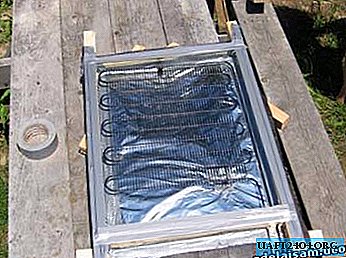
Using adhesive tape, carefully glue all the cracks between the frame and the foil. This is to ensure that cooler outside air does not enter the collector.

To supply water to the coil, a PVC tube was purchased.

Sealing the connections of the tubes and the coil was provided with adhesive tape.

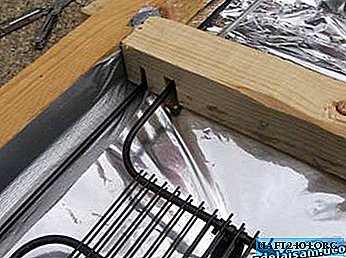
To fix the coil, we used clamps that were removed from the refrigerator. Mounting clamps was also provided with adhesive tape. But for reliability, I recommend fixing it with screws.

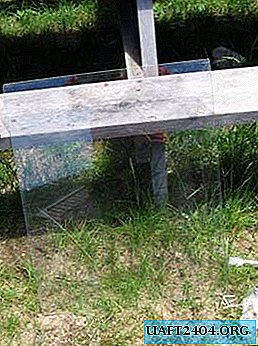
We cover our structure with glass and glue along the perimeter with tape.
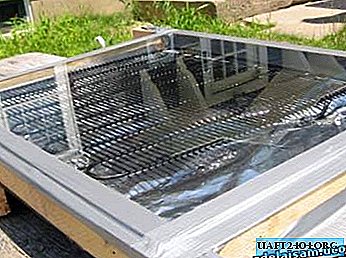
Homemade solar collector is ready. For best heating, the sun's rays should fall on the surface of the collector at right angles. Therefore, the fastening of the supporting structural elements ends.

So that the glass does not go away from the heat, it is necessary to screw a couple of screws at the bottom, which will serve as stops.
Now it remains to attach the tank for accumulating hot water.
Circulation occurs only due to natural convection. When heated, the water in the collector expands, becomes less dense, rises up the collector and through the pipe enters the upper part of the storage tank. As a result, cooler water at the bottom of the tank is forced out and flows through another pipe to the lower part of the collector. This water, in turn, is heated and rises into the tank.
1 - hot water; 2 - pressure relief valve; 3 - discharge of hot water; 4 - shutoff valve; 5 - feed valve; 6 - cold water; 7 - supply of cold water; 8 - drain valve.
While the sun is shining, water will constantly circulate along this circuit, becoming more and more heated. Due to the fact that the tank is raised above the collector, the effect of overturning circulation as a result of nightly cooling of the coolant in the collector is nullified, since cold water simply accumulates at the lower point of the system (at the bottom of the collector), while warm water remains in the tank.
Such a simple design of the solar collector can heat water on a sunny day, up to 70 degrees.
Sources: Thesietch.org
Share
Pin
Tweet
Send
Share
Send