Share
Pin
Tweet
Send
Share
Send
Well, let's get started. First you need a webcam itself.
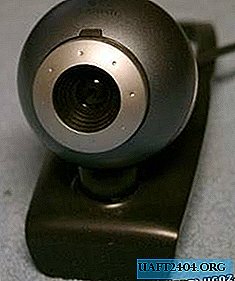
I bought the simplest one with a resolution of about 640x480, it doesn’t matter, any other will do.
We need to remove the infrared filter (IR filter) from it so that our camera can see infrared light.
These filters are in almost every camera.
We take the camera, at the top there will be a small notch - we pry it with something sharp and remove the top peel. It will also free us access to other latches that hold the two halves of the camera.

On the side of the camera there is a small rubber plug - it must be picked up with a sharp object (dentists know what I mean :-))

There, in the depths, the narrow-eyed Chinese hid a small screw - we turn it off with a Phillips screwdriver. He turns away with difficulty, largely because someone was not too lazy to make a whole mine and hide this tiny screw there.

Once you unscrew this screw, the camera can be opened for further experiments.
Now, carefully and without applying excessive physical force, we insert something sharp into the groove and open the two halves of the chamber. The groove will be at the top of the camera:

I remind you that after all our experiments, the camera will remain alive and will continue to work successfully. Opening it, you can turn it on and see - everything should work fine.

Yes, inside there are few wires, one stunted LED and a penny matrix. In the figure, the camera is partially disassembled and turned on, it works fine.
Gently we approach the black head with the camera optics - it must be carefully removed together with the board from the groove in which it rotates. It is not necessary to take out completely, but only from the grooves.

That's it, now we unscrew the optics head until it falls off the board. After that, looking into the camera, you should see the matrix.

It is very advisable not to touch it with anything and generally put the camera aside so that nothing gets on the matrix.
There is a subtle point. The fact is that an IR filter is inserted inside the head with optics and a thin bead is deposited on top, which must be removed. This must be done decisively, not forgetting that the IR filter is glass and can be easily broken. The figure shows three arrows pointing to the sections of the plastic piping that you need to carefully cut

After that, you will immediately hear the creak of the glass - this means that you snag the tip on the IR filter. We are almost there, now we need to reduce our efforts and carefully pick out the IR filter from its plastic arms.

After we removed the IR filter, we collect everything back. We turn on the camera and look - everything should work, but the image will be somewhat with a bit strange colors. This is normal. Here is the infrared nature:

In general, the sensitivity of the camera sharp it will rise and its bright light will dazzle, but for that in the dark it will be even more sensitive than the eyes!
Everything is ready !
Now we direct to the banknote.
This is how it looks on the screen.
100 rubles

1000 rubles (less than 100 rubles less but everything is clear)

General:
(click to enlarge)

Important Notice: The camera is very affected by lighting - if only tubes of "daylight" light, the picture will not be very contrasting (see photo) - cold light, a lot of blue and a little infrared. A much better image when lit with conventional incandescent bulbs. (The perfect picture is obtained when the money is lit with a lighter flame! :)
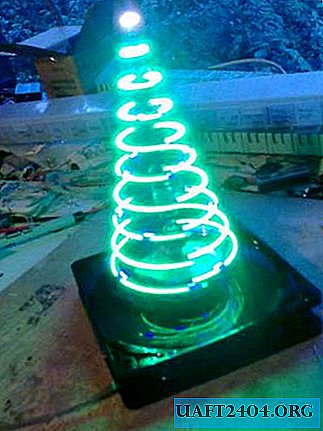
Now we will make the so-called night vision device from our camera.
The most important thing is that after dismantling the IR filter, your sensitive webcam should greatly increase, which is very useful when shooting in low light conditions. More light - higher "noise" of the image, that is, the image quality is better. So a good black and white image is better than a very noisy color.

Great sensitivity and the ability to see in the dark are very useful if you need to make a small security camera.
We need to make IR illumination for the camera so that it can see in complete darkness. I took a couple of IR diodes, namely, I removed them from the old remote control from the video recorder. I connected them in series plus through a 100 ohm resistor. and powered them from the same camera. on usb 5 volts is supplied.

Here's what happened. Scary, it’s because without a case.

with diodes included:

In the photo, the camera takes pictures of itself and therefore the light of the IR diodes is clearly visible, the light of these diodes is not visible to the simple human eye!
Sees in complete darkness at a distance of 3 meters. Of course, 2 diodes are not enough, you need at least 6, but I no longer had it.
When using about 10 - 15 diodes, the camera will be able to see 15 meters.
My klava is in complete darkness.

In general, in infrared light, some objects become unusual: a T-shirt with stripes turns white, some things are transparent, for example, like Coca-Cola in the picture:

It is transparent as water. This is because infrared light passes through some objects, but visible light does not. Well, we already talked about paper money in infrared light ...
In short, if you have imagination and ingenuity from a webcam, you can do a lot of things. In general, it is useful to bear this in mind - you never know what engineering problems have to be solved ...
Share
Pin
Tweet
Send
Share
Send