Share
Pin
Tweet
Send
Share
Send
Materials for work:
- Gloves, mask, trash bags, cotton buds;
- Self-adhesive film - 3 m.;
- A knife for cutting wood or a stationery knife - 1 pc.;
- Alcoholic drink "Vodka" - 1 bottle .;
- Polishing wheel for drill - 1 pc.;
- Grinder for grinder - 1 pc.;
- Trowel - 1 pc.;
- Shlif. Paper small - 3-4 sheets;
- Masking tape - 2 pcs.;
- Aerosol paint for black metal - 2 cylinders;
- Sand-based aerosol paint for metal - 3 cylinders;
- Liquid rubber - 2 cylinders;
- Aerosol varnish - 1 large cylinder;
- Putty for metal - 1 can;
- Masking pencil - 1 piece;
- Thinner - 1 bottle.
Stages of the work:
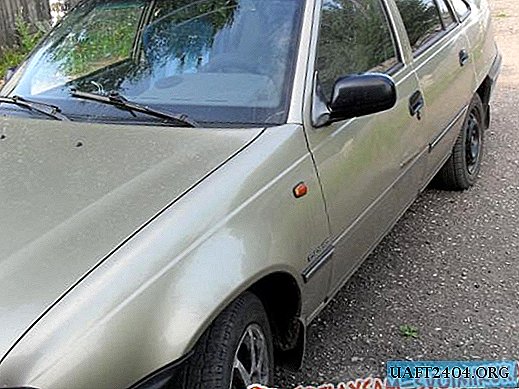
The first stage: preparation of the machine.
Rinse your favorite car with water. We apply the detergent thoroughly to wash, dry and drive into a closed room.


We rent numbers. We wrap all the parts not involved in the painting in defense. You can use anything, but the fastest and most convenient way is to attach garbage bags with masking tape: they are easily attached and removed, a large area of coverage.


The second stage: painting bumpers.
Degrease the surface of the bumpers with vodka.

We select a paint approximately similar, since the selection "in color for a foreigner" is an expensive pleasure.
Apply the first coat of paint, keeping the spray gun away from the bumper. The first press is best done away from the surface to be covered, this will save from beam spraying and staining. Without stopping the spraying of paint, we direct the stream onto the bumper. We cover the entire surface of the rear bumper.

While the first coat dries, apply paint to the front bumper. The time spent is enough to partially dry one layer. Go back to the rear bumper and apply a second layer. Similarly, paint the front bumper a second time.

Dry as much as indicated on the paint tank. Other work at this time is not carried out so as not to dust the painted surface.
Grind the dried surface with a special circle on a drill. Very neat and careful! Otherwise, you can tear off not only a new coat of paint, but also wipe the hole through and through. If the hand on the drill is not full - it is better to spend more time processing it manually with a terry towel.

We wipe the dust with a soft dry cloth and cover the bumpers with 2 layers of aerosol varnish.


The third stage: straightening a dent.
For editing, you need a camera and a compressor.

We disassemble the inside of the door with a dent.


We insert the camera inside the door.


We turn on the compressor and pump up the camera until the dent straightens out.

We’ll remove the camera only after preparing for scratching.
The fourth stage: cleaning of rust and scratches.
We clean the scratch on the door with sandpaper.


We bring a special staple and trowel put on scratches.


After drying, we clean out irregularities.


The fifth stage: the manufacture of stencils for airbrushing.
The image you like is enlarged to the desired size. For this, a picture (preferably a two-color stencil) is lined and cut (in Word), we copy each piece into separate sheets, which we print on a printer and glue it manually.
We roll the self-adhesive film to the length of the picture and fold it face down.


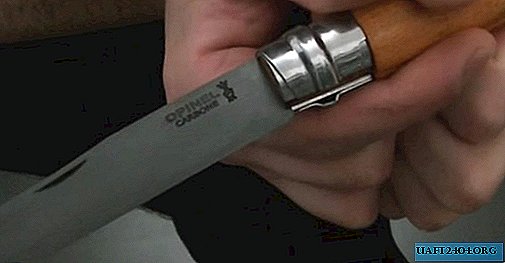
We get a sharp knife. It is better to purchase knives for cutting wood: various nozzles and sharpness allow you to quickly and efficiently cut the most curved sections.

We put an enlarged drawing on top of two layers of the film and fasten all three layers along the perimeter with a stapler.

Carefully cut out the dark details of the picture.

It turns out two identical stencils.


Sixth stage: mounting the stencil to the car.
We remove the staples, we share the stencils.

Places of drawing a pattern are degreased with vodka.

We fix the upper part of the stencil to the car.

Carefully separate the protective layer from the film, smoothing the stencil over the surface of the machine.


We carefully iron the joints with the volumetric parts and squeeze them so that the film lies on the surface (otherwise we get blots).

At the same time, you can update the mirrors by wrapping the non-painted part with packages.

Seventh step: drawing.
We mask all the places not covered by the stencil with garbage bags or old wallpaper (we don’t use newspapers, as their thin structure will get wet and the car will paint over where the drawing is not needed).
Now boldly apply black spray paint in several layers (we observe the drying time between the layers, which is indicated on the cylinder).

Paint the mirrors.

After drying, apply 2 coats of varnish.


Carefully remove the stencil.


With a solvent, wipe the greased pattern.

Putty places of scratches that are not covered by a stencil and a pattern are painted over with a camouflage pencil (or liquid).

The car almost went through the upgrade stage.


The eighth stage: cleaning and covering thresholds.
We clean the rust on the thresholds with sandpaper.
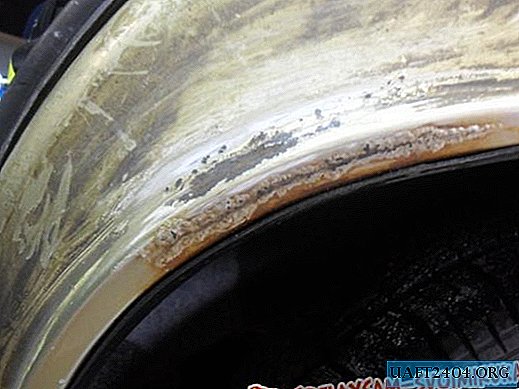


With the grinding wheel, we remove the excess.


Apply putty. Sushim.

We clean irregularities.


We close the auto parts that are not involved in the update process.


Degrease the areas ready for painting with vodka.

Apply liquid rubber in two layers.


It should be noted that rubber is applied better than paint. However, it is also easier to remove: slightly tuck the edge, pull - and the protective coating is removed like masking tape (quickly and without residue).


So, at home for ridiculous money, you can update the old car so that it will attract attention more than it once attracted, being new and shiny.

Share
Pin
Tweet
Send
Share
Send