Share
Pin
Tweet
Send
Share
Send
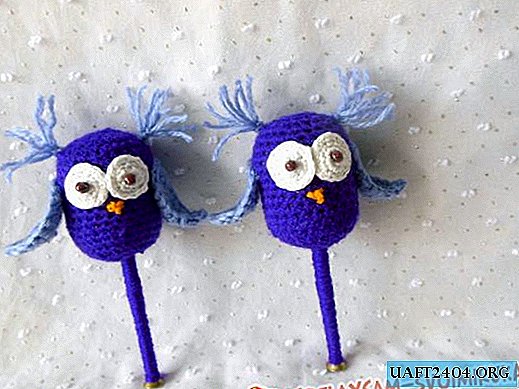
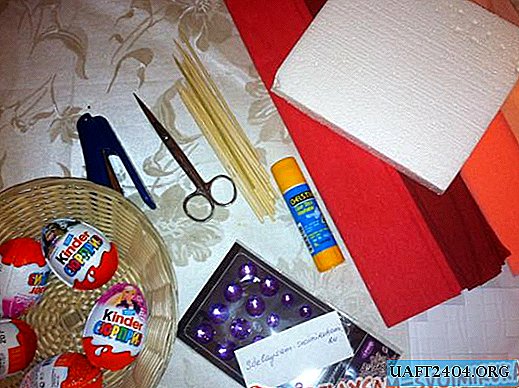
To create a similar bird you will need an egg from Kinder Surprise, paper clips, two types of yarn (preferably one color scheme, but different shades) and a hook for knitting 2.00 mm.

We put the paper clips inside the plastic base and proceed to its decor.

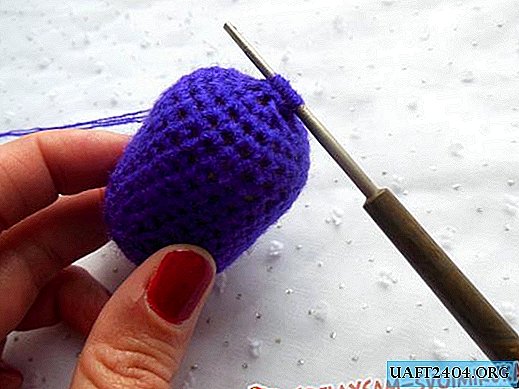
To do this, from the thread selected for the base we collect several air loops (v. P) and assemble into a ring. From it we create a small circle, knitting 5-6 circular rows with a single crochet (st. / B. N). This workpiece should protrude slightly from under the egg, that is, be an order of magnitude larger than its diameter.


In order for the flat circle to become a tight cover for our testicle, at 4 points (equidistant from each other) you need to reduce 2 columns. The first and second “contraction zone” are chosen arbitrarily, after which we shorten the loops opposite these selected zones.


Next, we knit without changes to the very top. It is the absence of increases and decreases that helps to keep and maintain the desired shape of the product.

Toward the end (namely, in the rounding area), we gradually reduce the columns.

On the top of the remaining columns, we extend the loops immediately from all sides and close them.

Now we make brushes for our owl from light yarn.

Cut 4 strips of 2-3 cm and thread into one of the side holes.


We put the two parts together and tightly tie the whole bundle with thread. We do the same brush on the opposite side of the head.

Then we knit wings from the same yarn. We gain 5 in. n and we knit 5 straight rows of st / b. n


In the next three rows, we remove the extreme columns, after which we close the remaining 3 loops.

Gently attach the wings to the body with a needle and thread.


The final touch will be the eyes and beak. We will create them from white and yellow yarn. And for the eye, you still need two small beads or large beads.

We crochet eyes with a circular viscous st. / B. n, complement with beads and sew well.

We knit out the beak directly from the base. To do this, it is better to take a thin hook.

We pull out 2 loops, immediately close them and cut off the protruding end. We hide these threads in the work so that the beak does not open and looks aesthetically pleasing.


And to make it convenient for the child to take the toy, we make a small pen. The most optimal option for this purpose is a large self-tapping screw. He will firmly go in and firmly fix, which will not allow the child to pull out the base or damage it in any way.

At the end, wrap the handle with yarn 3-4 times to make it completely soft and safe for the baby.

The rattle is ready!
Important! Never use glue! All parts should be firmly sewn so that the tenacious fingers of the baby do not tear them from the base. Remember, child safety is first!

Share
Pin
Tweet
Send
Share
Send


