Share
Pin
Tweet
Send
Share
Send
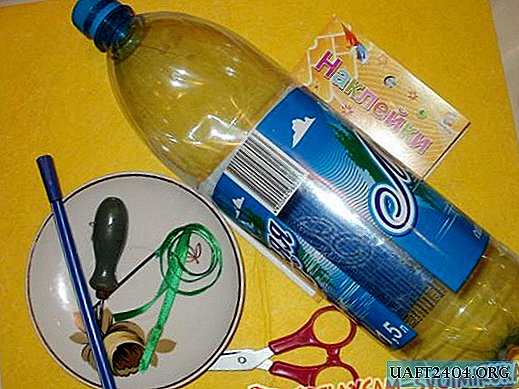
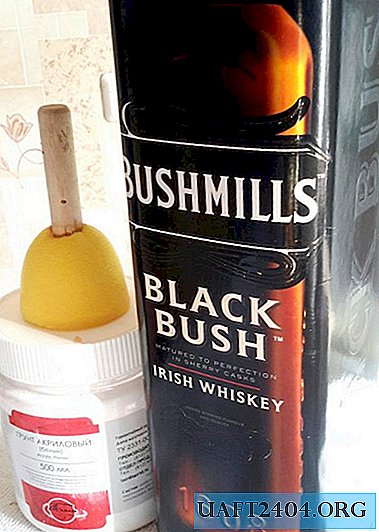
For work we take materials:
- paper.
- plastic suede yellow and green.
- scissors.
- thin wire.
- the rim.
- a set of acrylic paint.
- a little foam.
- food foil.
- glue gun.
- a few beads for decoration.
- a toothpick.
- lighter.
- a plastic sheet for forcing textures.
For a large rose, four sizes of petals, sepals and leaves are needed. Take, cut out blank templates from paper. We need squares with sides of 4 cm, 5 and 5.5 cm, also 6 cm, then we cut them in the shape of droplets. In two large sizes, the top edge will be with a wave. Next, you need a sheet in the form of a boat, measuring 4.5 x 2.5 cm and 8 x 3 cm.

And according to the patterns, we cut out of yellow suede two small sizes of 10 pieces. There are 7 medium petals, and large ones need only 5 blanks. And from the green color of suede you will need smaller leaves of 6 pieces and 5 larger parts ...

Prepare the rim. If it is without decoration, then it should be pasted over with tape.

And take the paint of green and red. We will paint with a piece of foam.

Let's start with the largest, and they should go through foam rubber with paint along the edge of the petals on both sides. Then additionally apply a layer in the middle of the workpieces and also on both sides. Further we continue to paint the blanks only along the upper edge.

When the petals have dried, we will begin to process with a lighter. Let's start with the smallest piece size. Make the middle of the petal warm so that it can change shape. Therefore, immediately with our thumbs we make a depression in the middle of the petal. Next, bend on both sides along the edge of the workpieces. We bring fire from the left and the right of the wide part of the petal. The edge makes itself a beautiful little bend. In this way, we change the shape of two small sizes of blanks.

The middle petals have a deeper groove, and two bends at the edge of the blanks do not affect the middle part.

But on large petals you need to do everything like everyone else, additionally warm up the middle of the upper edge and make an additional curl. Please note that the front side of the petal will be the red side of the workpiece.

Here. Now all the petals are ready.

Next, go to the green blanks. On large leaves, we apply green paint on the edge of the part from two sides, rubbing to the middle.

Then we additionally apply red color.

Then from the upper edge to the middle of the workpiece we make 3 cuts. Fold two sheets together and twist the divided part with your fingers.

We pass to small leaves. We warm it with a lighter and quickly apply it to the mold for printing veins on leaflets. You can do this with a toothpick, just draw such contours.


Next, we paint such blanks with green and red paint on both sides.

Then you should correctly trim the leaves with scissors so that the average vein corresponds to the middle of the workpiece. And additionally along the edge we make denticles on the leaves.

All that remains is to glue the resulting parts onto a wire wrapped in green paper. On the front side of the sheet in the lower corner we have the edge of the wire, well pressed.

Now move on to assembling the rose itself. We make the base of the foil on the wire. Immediately glue the green paper at the base.

We begin the assembly with small petals. The first 3 blanks are glued tightly to the base, completely covering the entire foil on top.

The remaining 6 petals are arranged in a circle, applying glue to the middle of the details. We apply with the call of one workpiece to another.

Glue 10 more petals in the same way in a circle in two rows of 5 parts. On the blanks themselves, we lubricate with glue only a narrow bottom.

We place the medium-sized petals with the approach of one part to the second. There will be 7 blanks in a row.

And the largest petals are glued simply in a circle.


Now turn the resulting flower upside down with wire, and glue 5 large green blanks. It turns out on a sepals rose.

Leave the wire length not more than 4 cm.

To assemble the rim should be prepared. The rim itself, if necessary, then paste over it with a thin ribbon. On a rose, if desired, attach a decoration from a fishing line with beads or balls on a wire. Collect green leaves in bundles of 3 pieces and fix together 1 cm, and leave the wires another 2 cm longer.

Getting to the assembly. From the middle of the rim we retreat down 6 cm and fasten a bunch of leaves with a downward inclination for the free edge of the wire. Then glue a strip of suede around the rim and stem, closing the junction.

We fix the second leaves in the opposite direction from the first. We fasten the rose in the middle of the leaves. From the wrong side everything is neatly closed.

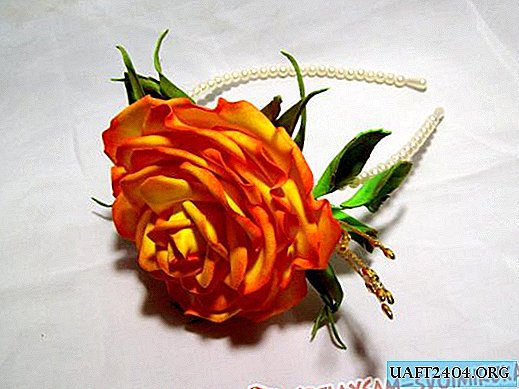
The bezel with a rose is ready.

Good luck to all!
Share
Pin
Tweet
Send
Share
Send