Share
Pin
Tweet
Send
Share
Send
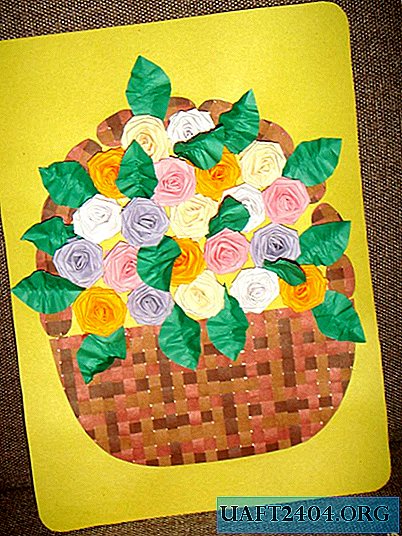
Before starting work, it is necessary to collect the following set of materials and tools:
- scissors;
- color double-sided paper;
- plain colored paper;
- a ruler;
- a sheet of cardboard;
- a pencil is simple;
- tube with PVA glue.
So, first you will learn how to make a wicker basket from plain colored paper.
In the set, look for sheets of brown shades, preferably 2-3 tones (darker and lighter).
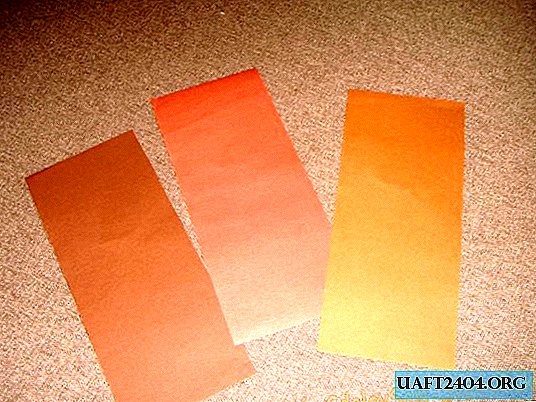
On the white side of the sheets, draw strips 5 mm thick under the ruler with a simple pencil.
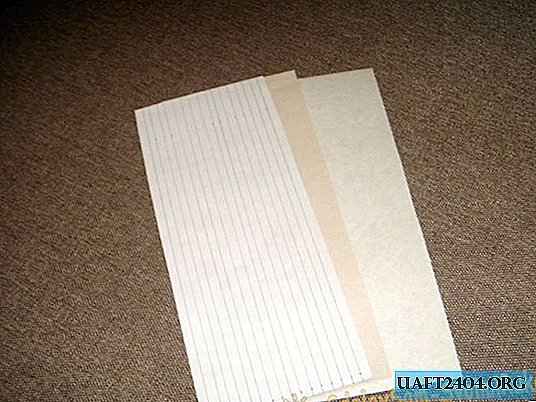
Cut all three sheets into thin strips.
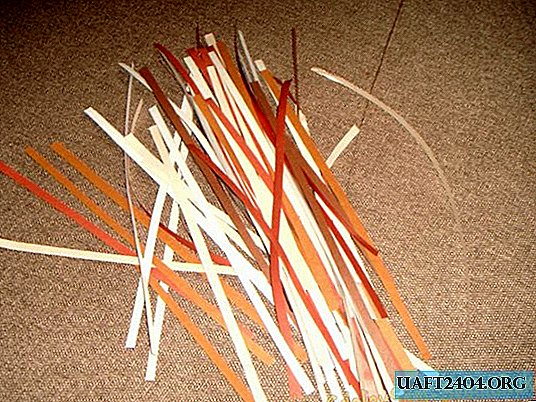
Now start weaving from paper blanks. Take white paper, apply a horizontal strip of glue on top and glue 35 strips vertically, alternating light and dark shades of brown.
Further, in a checkerboard pattern, interlace the loose strips between the glued ones. You will gradually get a canvas with small squares.

The bottom of the basket requires weaving about 10 cm wide, and for the handle you should get two strips of 3 cm by 10 cm. Do not forget to stick the wicker cloth on a sheet of white paper.
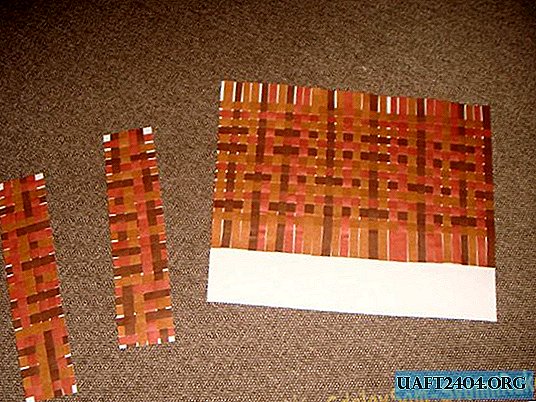
Next you need a stencil basket. Draw her silhouette on a paper sheet or print an image from the Internet.
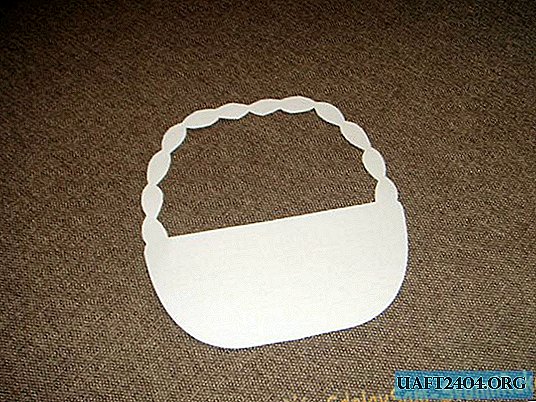
Use a stencil to cut out the bottom of the basket and the individual ovals for making the handle.

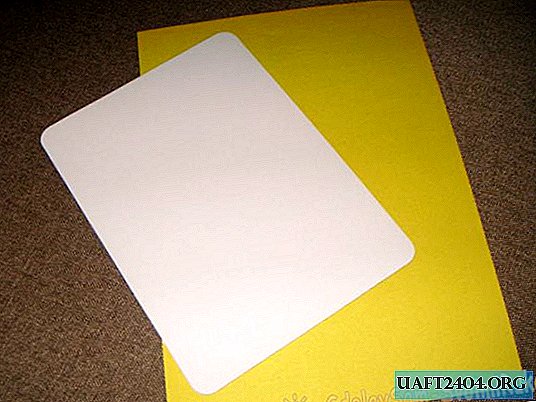
Make the base of the postcard. Take a sheet of cardboard, round its corners and paste over with colored paper of any color. A yellow background will look good.
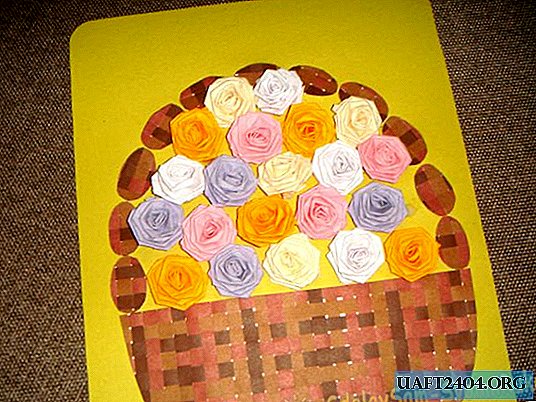
On the basis, fix the details of the basket: first the braided bottom, and then the handle.
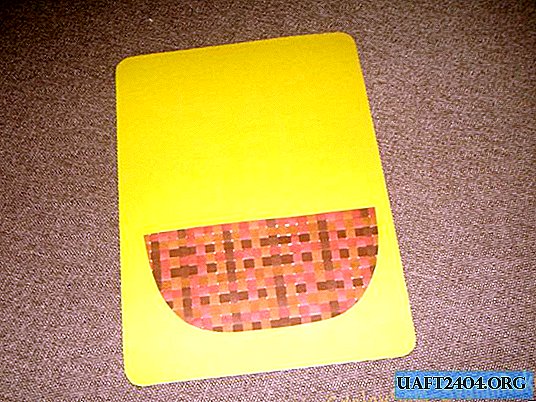
The basket is still without decor, but it already looks pretty.

Now start making roses from double-sided colored paper.
For one rose, you need a long paper strip 15 mm wide.

Fold the upper left edge of the paper stock as shown in the photo.

Then fold it out again. It turns out a triangle.

Next, you need to bend the strip itself so as to capture the upper corner.
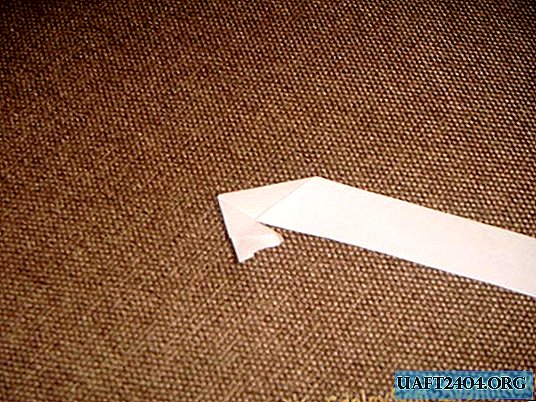
Twist the strip around the triangle until a small corner remains on top.

Bend the strip again.
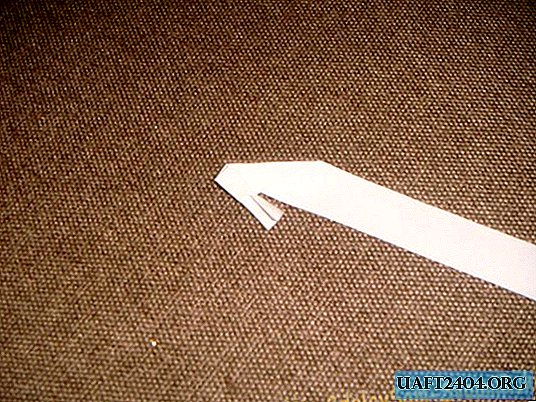
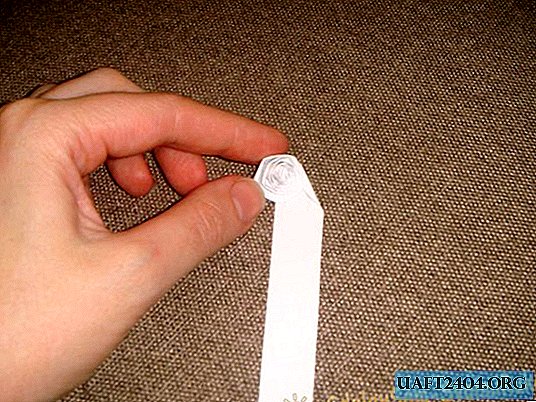
And keep twisting it around the triangle.

Gradually, the petals of the rose bud will form.
This is what the finished flower looks like.
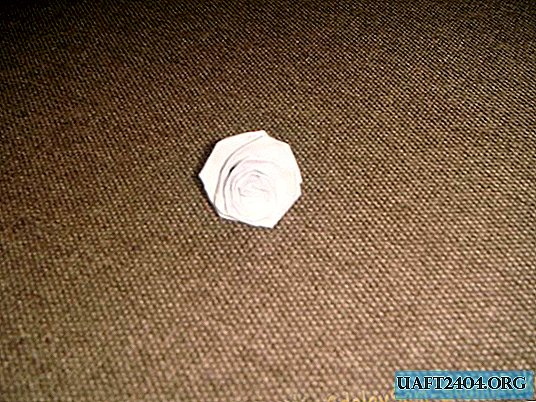
Glue the edge of the paper and the triangle onto which the spirals were wound so that the layers do not unwind.

Make pink, yellow, orange and lilac roses.

Glue the finished lush buds on the card. Place the flowers between the basket itself and its handle.
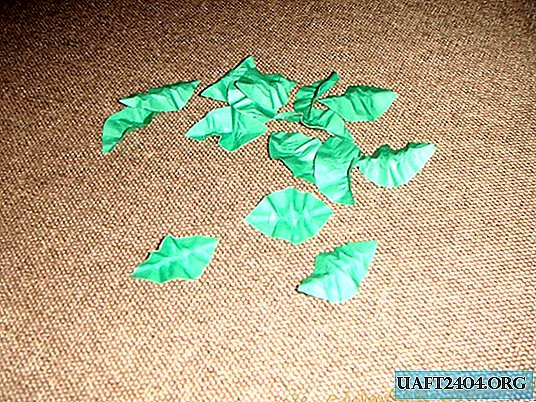
Only leaflets are missing. Cut them out of double-sided green paper and fold them in half, making an accordion. Get volumetric leaves.
Glue them between the flowers.

A stunningly beautiful card comes out with a wicker basket and miniature multi-colored roses.
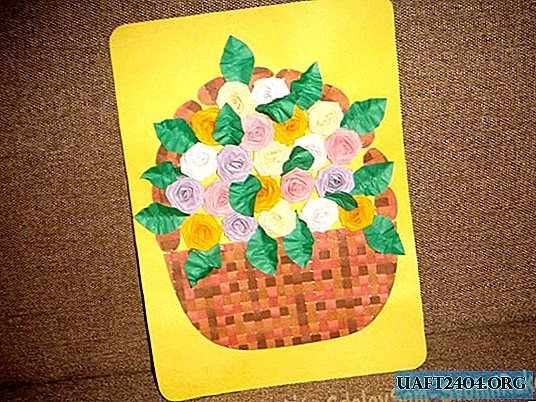
A great souvenir for a colleague or girlfriend for any summer holiday.

Share
Pin
Tweet
Send
Share
Send

