Share
Pin
Tweet
Send
Share
Send
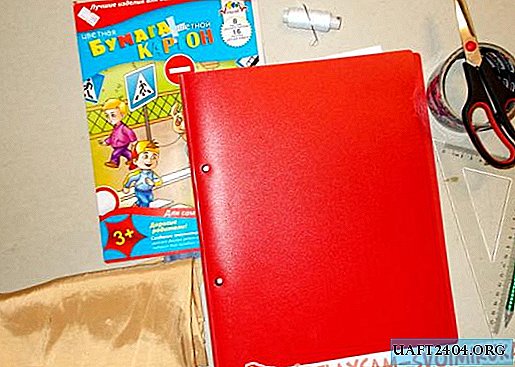
To create an elephant, prepare:
- - a sheet of pink paper;
- - a ruler;
- - a simple pencil;
- - black felt-tip pen;
- - glue stick;
- - pink felt-tip pen;
- - scissors.
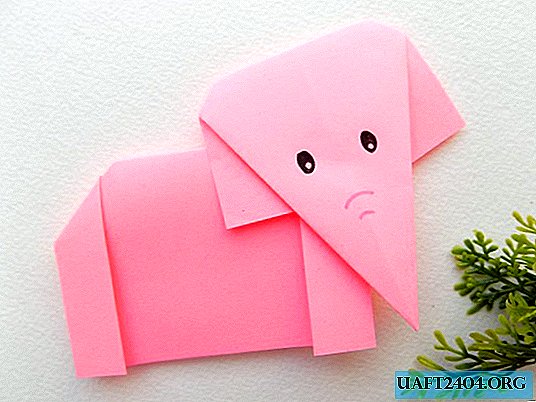
Making an elephant from paper

Our elephant will be made of two square sheets of paper. To create the body, we need a square with a side of 12 cm, and to make the head of our animal we take a pink square with a side of 7.5 cm.

Let's start by creating the head of an elephant. To do this, add a small square diagonally.

Now expand this square, and bend its sides to the middle. We should get such a rhombus.

The upper corners of the bent triangles must be bent to the sides. This is how we shape the ears of our paper elephant.

We bend the top corner down. So we outlined the shape of the head of our animal.

On the reverse side we see the resulting workpiece - the head of an elephant.

Now let's start making the body of an elephant. To do this, take a large square and fold it in half.

Expand it and perform bends of the sides in the middle direction (1.5 cm on each side). So we outline the shape of the legs of our animal.

Again, fold the workpiece in half.

One of the corners of the upper edge (where the fold) is bent in the form of a small triangle.

And now you need to fold inward at this place.

It was the turn to use glue. With it, we connect two parts - the head and trunk of an elephant.

So our craft is almost ready.

Take a black felt-tip pen and draw eyes.

Now with a pink felt-tip pen we’ll make a couple of strokes that will imitate the folds on the trunk. Our paper elephant is ready.

Share
Pin
Tweet
Send
Share
Send