Share
Pin
Tweet
Send
Share
Send
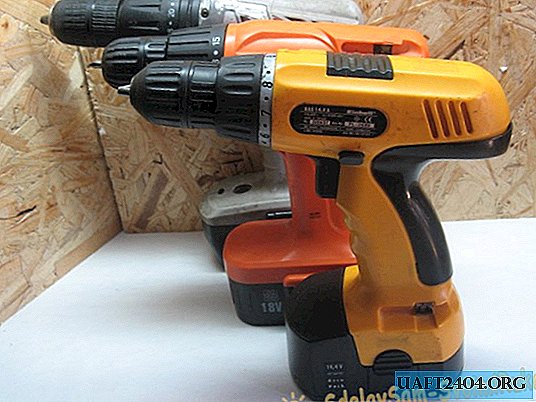
Redo a screwdriver with a battery of 14.4 volts. Screwdrivers often use a motor for a wide range of supply voltages. So in this case, you can use only three Li-ion cells of 18650 format. I will not use control cards. The discharge of elements will be visible in the work. As soon as the self-tapping screw is not twisted, for example, it is time to put on charging.
Remaking a Li-ion screwdriver without a BMS board
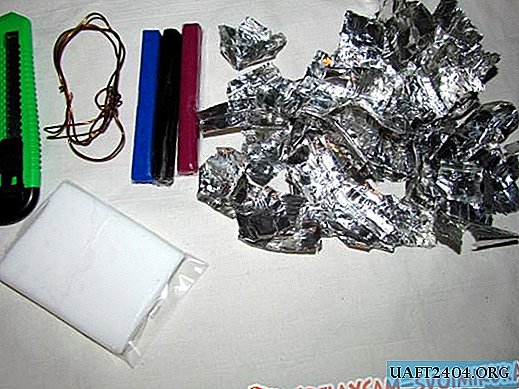
To begin with, we disassemble our battery. Inside it there are 12 elements. 10 pieces in one row and 2 in the second row. A contact group is welded to the second row of elements. We leave a couple of elements with a contact group, we will utilize the rest.

Now you need to solder the wires for further work. The contacts turned out to be material that cannot be tinned, so we solder the wires to the elements. Minus to the body of the element, and plus directly to the plus spot. Old elements play the role of support in the work are not involved.

I will use lithium-ion batteries of the 18650 format. High-current elements are needed for revision. I "dressed up" my elements in the heat shrink from Sanyo, the old one was pretty shabby. Checked Imax residual capacity.
We connect the batteries in series and solder the elements of the head. The battery is almost ready.

Now we will provide comfortable charging. You need to install the connector on four pins. I applied the connector from the old motherboard to the number of contacts I needed. He took the mate from the old computer power supply.

Cut a hole for the connector. Fill the connector with epoxy glue or super glue with soda. Also solder the wires.

Solder the wires to the elements. Wire from the first pin of the connector to the plus of the battery. The wire from the second pin of the connector to the plus of the second element, it is the minus of the first element and so on. Since I will charge with a "smart" charger, you need to make a balancing wire.


As a connector for connecting to a charger, I will use a wire from the computer's power supply. The wire through which the floppy drive was powered. We cut off all the keys from the connector and it fits perfectly under the charger. Soldering simply. Red wire to the first pin of the battery connector. Black wire to the second pin of the battery connector, etc.

We connect to the charger and do not forget about the power wires. Our postings are balancing. We install balancing on the charger and wait for a full charge.

In such a non-tricky way, you can modify the battery of the shutter hoop for the home.
Share
Pin
Tweet
Send
Share
Send