Share
Pin
Tweet
Send
Share
Send
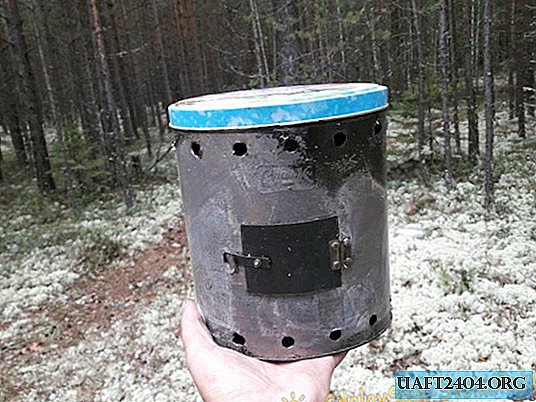

In addition, inside the oven you can put the pot itself (if it is smaller!), A spoon, a mug, salt, seasonings and other camping trifles, so that the space in the backpack, from its stay there, will not decrease much.


Since I have had this oven for a long time, and have been successfully used for a long time, I’ll make myself a new one to show clearly how to do it right. And so, we will prepare everything we need, and proceed to manufacture.
Will need
- Tin can of three liters.
- A small sheet of metal, approximately 10 × 10 cm. 1 mm thick.
- Sander.
- Bolts and nuts from a metal constructor (or similar, the same size).
- Marker.
- Small hinge loop.
- Wrench and screwdriver for the size of nuts and bolts.
- Drill.
- 3 mm drill and 10 mm.
Primus stove manufacturing
The work will be short-lived, easy and simple. To begin with, we will mark the holes for the marker and drill around the perimeters of the upper and lower edges of the ten-millimeter holes. In increments of 3-4 cm.


The lower holes will be designed for unimpeded access of fresh air to the furnace (instead of the blower) for efficient combustion of fuel, and the upper ones for the exit of combustion products. Now we mark the place for the door and use a grinder to cut out a rectangular window for the firebox in the middle of the can. About 6 × 4 cm.


Next, we cut out the door from the prepared sheet of metal, a little larger than the window, and adjust it to the shape of the can. We also cut out a strip of metal, which will be a shutter for the furnace. We drill holes in the door for the shutter and under the hinge. We fasten the hinge and shutter to the door.


We, in turn, try on this whole structure to the furnace, make markers for the holes with a marker, drill and fasten it by the hinge to the furnace itself.


Do not forget to fasten to the stove, on the side of the door, some kind of hook where the shutter will go.

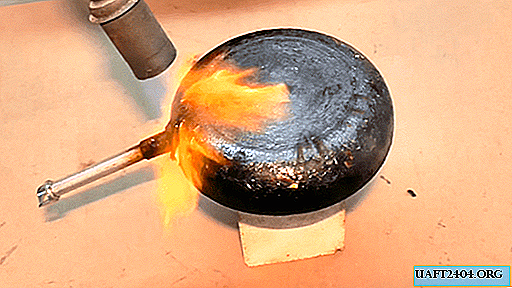
I made it from a metal jumper from an electric plug - it had a suitable thread for a bolt. (By the way - you can use rivets instead of bolts, so it probably will be better, but for lack of a riveting gun, I am content with what is available.) That's basically all. If the jar had a paint coating - just stoke it once in the blank, the thin coating will immediately darken and peel off. This stove will be heated with the help of small chips, twigs, cones and dry needles. Before using the stove, clean a small area of land from leaves, needles, moss and other combustible material, and use it at this place.

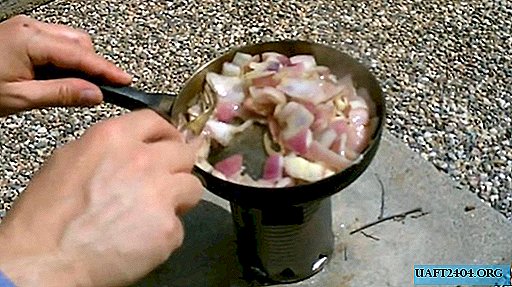
Melt the stove, put the pot on top of it. If your pot turns out to be smaller in diameter, such as mine, for example, then simply make two crossbars from thick wire that can be inserted into the upper holes.


After use, pour the coals and ash from the oven into a small hole dug in the ground, fill it with water and fill it with sand. The oven will serve you depending on the intensity of use. My old stove was working properly for the second summer.

And this despite frequent use - every weekend and holidays.
Share
Pin
Tweet
Send
Share
Send

