Share
Pin
Tweet
Send
Share
Send
Class B amplifiers, on the contrary, are very economical, but they introduce quite a few non-linear amplifiers into the signal. The most common class - "AB", as its name implies, is a cross between "A" and "B". It consumes not so much and allows you to play an audio signal with a fairly good quality. However, such amplifiers, especially when the power is already calculated in tens of watts, still need a radiator for cooling. That is why in recent years, class "D" amplifiers have gained great popularity. They have high efficiency (80-90%) and can do without a radiator even with a power of a couple of tens of watts, while ensuring quite decent sound quality. One such scheme is presented below.
Amplifier circuit

Its basis is the MP7720 chip, which is quite common recently, it provides an output power of up to 20 watts. The supply voltage lies in a wide range - from 7 to 24 volts. The higher the voltage, the greater the output power. D2 in the diagram is a 6.2 volt zener diode, for example, 1N4735A. D1 - Schottky diode for a voltage of at least 30 volts and a current of 1 ampere. Suitable, for example, 1N5819. L1 - inductor 10 μH, any type of inductor is suitable. C9 is an isolation capacitor, it is connected in series with the speaker and cuts off the constant component of the output signal. That is why even with improper assembly, there will be no constant voltage at the output of the amplifier and you can not worry about the speaker. Pin 4 of the chip is responsible for its status - is it on or off. If the voltage at this pin is close to zero, the amplifier will not work. That is why the diagram has a Zener diode D3 for a voltage of 4.7 volts, for example, 1N4732A can be used. All electrolytic capacitors must be rated for a voltage of at least 1.5 times the supply voltage. The circuit has no more features, it is enough to assemble it correctly, and it will immediately begin to work.

prostoj-usilitel-klassa-d.zip 36.52 Kb (downloads: 274)
Class D amplifier assembly
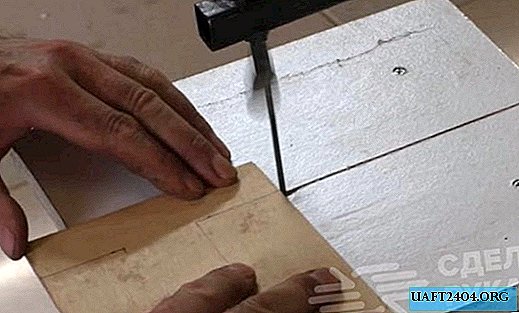
As usual, the printed circuit board is primarily manufactured, its dimensions are 45x30 mm. This amplifier was supposed to be the most economical and miniature, so all the elements are located tight enough to each other to save space, and the microcircuit in the SMD version is soldered from the side of the tracks. The printed circuit board is performed by the LUT method, below are some photos of the process.


When tinning the tracks, you need to be very careful not to accidentally short them with excess solder. After tinning, we first solder the microcircuit, and then the rest of the details on the other side of the board. To connect all the wires on the board, there is a place for the terminal block. After the soldering is completed, it is worth checking the adjacent tracks for a short circuit, before removing the remaining flux from the board. Particular attention should be removed from the area under the microcircuit, there should not be liquid flux under it, which can harm the proper operation of the amplifier.


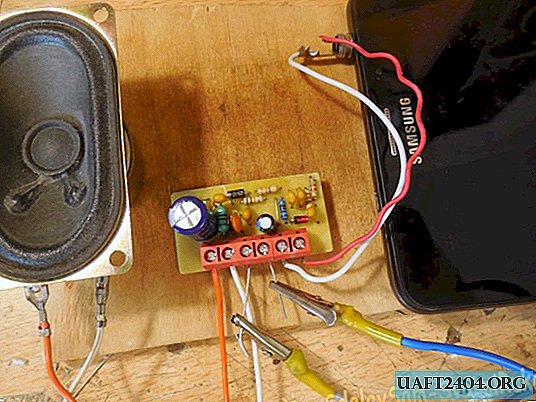
First inclusion and testing
Before the first start-up, an ammeter must be put in the gap of the supply wire. Then, having supplied power, look at the ammeter readings - without supplying a signal to the input, the microcircuit should not consume more than 10 mA. If the quiescent current is normal, you can connect a speaker, apply a signal to the input, for example, from a player, computer or phone and test the amplifier under load. Even at high volume, the microcircuit should not noticeably heat up. At first glance, this seems astounding - such a small microcircuit quietly provides output power of a dozen watts, without completely heating up. The thing is that it turns a regular analog audio signal into a train of pulses, which are then amplified. In this case, transistors work not in linear but in key mode, which allows you to do without a radiator. The amplifier is monaural, which means that to play a stereo signal you have to collect the second one. Such a small board can be integrated anywhere, it is simply indispensable when building various portable speakers that run on battery power. Successful assembly.
Share
Pin
Tweet
Send
Share
Send