Share
Pin
Tweet
Send
Share
Send
The heat exchanger is installed on the chimney of any furnace and increases its manufacturer and efficiency by more than 2.5 times. Which significantly increases fuel economy, reduces warm-up time.

The essence of the work is simple: through the chimney of the furnace, in addition to smoke, heat is also emitted, which can still be used. The heat exchanger takes this heat and gives it to the room in which it is located. Very good results are obtained with furnaces that run on solid fuel.
Materials
- A metal bucket from under construction or paints and varnishes.
- 8 pieces of steel pipe with a diameter of 1/4 inch.
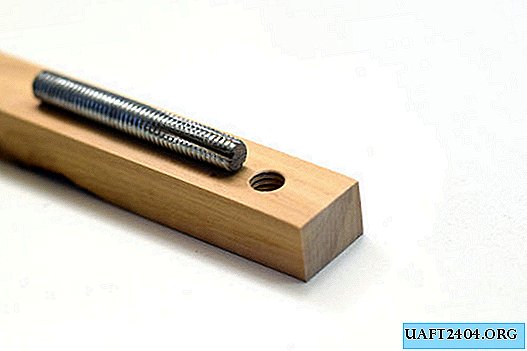
- 1 piece of steel pipe with a diameter of 1/2 inch.
- 2 pieces of a pipe of 6 inches for connection to a chimney.
- Steel sheet.
- Spray of high temperature paint.
- High-temperature cement for fireplaces - 1 tube.
Making a heat exchanger for a furnace
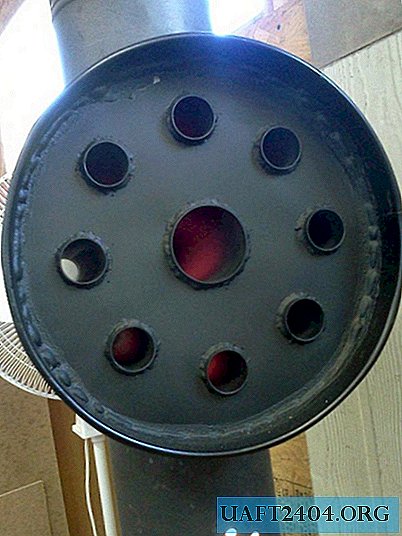
We take a metal bucket and measure its depth. We will cut the steel pipe into 8 straight sections with a long bucket equal to the depth. And one ninth section of a larger diameter.

The edges will be cleaned from burrs and rust or any other coating.
From the steel sheet we cut a square into which the diameter of the bucket will fit. Let's draw a diameter and a hole for a large pipe in the center. Also on the midline we mark 8 holes for the pipes.
We drill all the marked holes with a thin drill for metal.

I will make 8 holes of the right diameter with a homemade device for extruding.


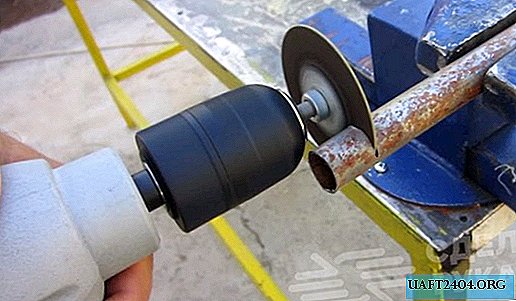
From the square we cut out a circle on a tape machine.


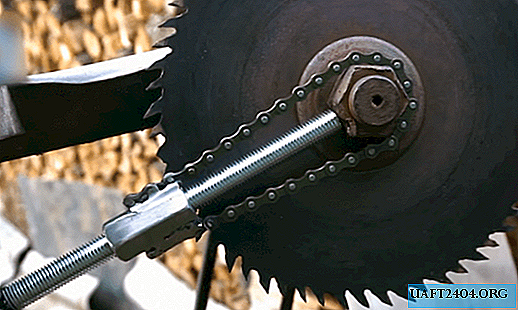
I cut a central hole for a 1/2 inch pipe with multiple reaming in diameter.

There are two such details.
Now you need to weld everything, but for this a fixture made of thick wood will be made.
The fact is that welding the entire structure is exactly not so easy, there is no necessary fixation.
We drill 8 holes in the board.

Next, we install all the details on it and, in turn, weld one to the other.

First we fix with welded points, and then we weld each element in a circular manner.

First, on the one hand, then on the other.


We take a steel bucket and burn it at the stake, removing everything unnecessary from the surface: paint, labels.

We remove the soot from the grinder with a cleaning nozzle, and then saw off the bottom of the bucket.

From the sides of the bucket you need to make two holes for the entrance and exit of the chimney.


We mark the length of the pipe and cut it making a skirt.


We install in the holes with a bend.


Fix by welding. The metal of the bucket is thin and therefore it is impossible to seal with circular welding - it will burn through.

We insert the core inside, we also fix with drops of welding.

Since a high-quality and airtight seam cannot be done, everything must be sealed with a special high-temperature cement putty, which is usually used in the construction of fireplaces.

We coat all joints.

Then we take high-temperature paint. It is used for painting furnaces, silencers and manifolds in automobile workshops.


We cover in two layers.

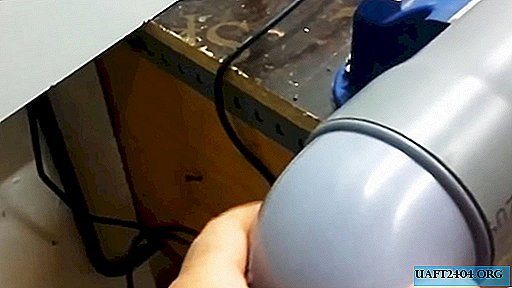
We install on the furnace pipe.

Behind for blowing, we put the household room fan.
We are developing a furnace.

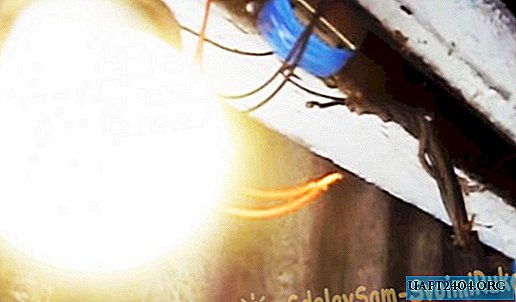
Without blowing, the central pipe heats up to red. And if you make measurements with a pyrometer, then the temperature is approximately 470 degrees Celsius.
It is worth starting the fan and the temperature drops by half and the heat is well deployed in the free space.
Found a small stationary fan and fix on a kind of mount.


Turn on and measure the result of work.
Heat exchanger result


I have a pretty big room. And in order to heat it from -10 to +20 degrees Celsius, from the beginning of the launch of the boiler, it used to take 3.5 hours. Now when using such an air heat exchanger, it takes about one hour, which is three times less. The result is quite satisfactory, especially with regard to saving firewood or other fuel.
Share
Pin
Tweet
Send
Share
Send