Share
Pin
Tweet
Send
Share
Send
Sometimes there are situations when you need to fasten two boards or a bar, but there is a desire to hide the screws with which the connection is made. Today I will show a simple and quick way how to make such a connection and make it as invisible as possible.
Will need
Necessary tools and materials:
- A simple pencil.
- Bit.
- Rubber mallet or mallet.
- Joiner glue or PVA.
- Vise or other clamp.
- Drill and drill with wood countersink.
- Screwdriver, screws.
- A cut of a wooden bar or board.
- Scotch tape or plastic bag.

How to hide a self-tapping screw
On one of the connected planks, a point is marked with a pencil where the self-tapping screw will be screwed. A chisel is installed at a distance of 15 mm from this point and a strip of wood about 50 mm long is removed. In this case, it is necessary that this piece remains connected to the board and a bent strip is obtained.


Then, a hole for a self-tapping screw is drilled with a drill. It is better to use a countersink so that the head of the self-tapping screw turns out to be recessed into a tree.

Using a self-tapping screw, two wooden parts are connected.


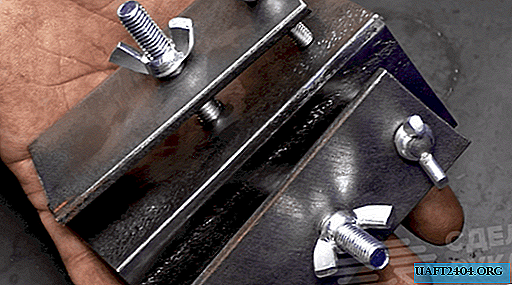
Now the groove and the removed strip of wood are abundantly lubricated with glue, after which a compressive force is applied to the area to be glued. I used a special clamp, but you can clamp the parts in a vise or just load with something heavy.


Note! To prevent the wooden lining from sticking to my boards, I pasted it with tape.

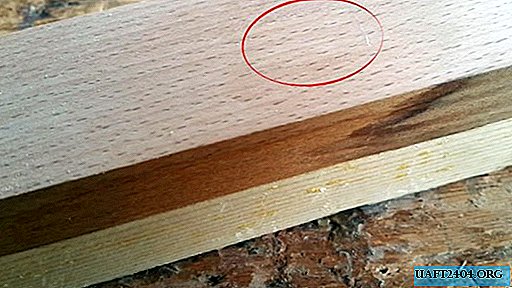
When the glue dried out a little (after about 60-90 minutes), I removed the clamp and sanded this place with fine sandpaper. Due to the fact that the glue did not dry completely, the resulting wood dust filled all the cracks, so the seam became almost invisible!


Unfortunately, this method has a drawback: if you need to disconnect the connected elements, it will be very difficult to do this.

Share
Pin
Tweet
Send
Share
Send