Share
Pin
Tweet
Send
Share
Send

Hello readers. Today I propose to consider just such an interesting homemade product.


This is a miniature flashlight, and since its size is very modest, it can easily be hung on a bunch of keys. Surely there it will not bother you, but it will also help you in an unforeseen situation.
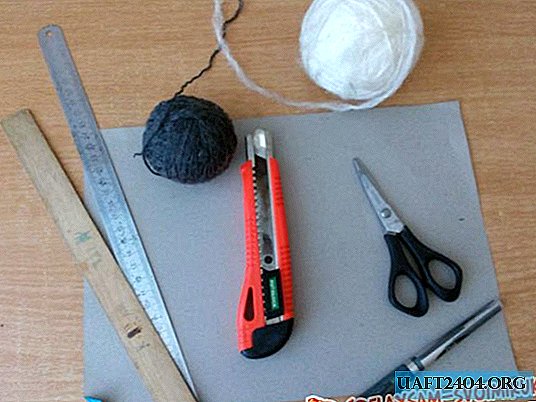
Tools and materials
I collected this flashlight from three batteries of the tablet type, I personally used the AG5, but you can use others, the main thing is that they have approximately the same diameter as the LED. I took the LED quite powerful, at 1 watt, such power of course reduces the battery life, but the brightness of this flashlight is impressive. I ordered such LEDs on aliexpress and they are sold on the radio market.

You will also need a shrink tube and a clerical needle. Of the tools you will need: a soldering iron, wire cutters, tweezers and small pliers.
The process of assembling a miniature flashlight
First of all, we need to find the negative terminal on the LED, align it with pliers and solder it to the negative side of one of the batteries as shown in the photo.


Next, you need to bend the soldered contact so that the thermal pad of the LED and minus the batteries are connected.

Before proceeding with the assembly, you need to check whether we have done everything correctly and whether the LED will be on. To do this, we press two more batteries and connect the free contact of the LED with the plus of the extreme battery.


If we continue to work, if we are not looking for a reason, we may have reversed the polarity of the LED, then the battery should be re-soldered to another foot.
Now you need to put on the battery shrink. We select the necessary heat shrink in diameter and length and put on the batteries. Leave the LED and the remaining positive contact free.


We warm up the resulting design using a lighter.
During the heat-shrink warm-up, you need to squeeze all the batteries together well with your fingers, so that later the contact between them is reliable.


Next, we need a clerical needle, the sharp edge of which should be soldered to the positive terminal of the LED.


Curving the leg of the LED, we press the needle to the body, we bite off the plastic ball.


We bend the remaining tip of the needle in the form of a semicircle and then bend so that the resulting semicircle almost touches the positive contact of the upper battery.


Check and adjust the needle if necessary. It is necessary to make sure that the flashlight glows with moderate pressure and does not light up from accidental touches.


The flashlight is almost ready. Now you can put on a small ring and then again cut off the required amount of heat shrink. Now we put it on the whole flashlight, warm it over the flame of a lighter.


excess can be cut with manicure scissors or a clerical knife.


Well, on this, this homemade product can be considered finished, we check and if everything is in order, you can safely hang the resulting mini flashlight keychain on the keys.


The resulting flashlight shines very brightly for its miniature size. This is certainly not a flashlight for every day, but rather for an unforeseen event. Well, let's say if the light turned off at the entrance or illuminate your path to the car at night so as not to get into a puddle. Personally, this homemade product has helped me more than once.
On this I say goodbye, all of Bor and good mood!
Video:
Share
Pin
Tweet
Send
Share
Send