Share
Pin
Tweet
Send
Share
Send
Like any home craftsman, I never throw away used hardware - screws, bolts and nuts. My experience suggests that they will always find application over time.
Surely many of you have come across a situation where the thread on the right bolt or nut is damaged or badly clogged. For example, they once tried to tighten the nut with a skew, as a result, part of the thread of the thread was damaged. In some cases, the threaded grooves of a bolt or nut are clogged with paint, hardened or caked grease, or sealant.
To solve these problems, I came up with a simple device, the manufacturing technology of which I want to share with you.
Necessary tools and materials

For work, we need first of all a bolt and two nuts to it. The threads on these parts must be in good condition. From the tools I used:
- bench vise;
- a small drilling machine (in extreme cases, you can use an electric drill);
- punch, drill;
- wrenches of the appropriate size.
Manufacturing fixtures
Screw both nuts onto the bolt. The second wound nut should be located at the end of the bolt thread, flush with the end of the bolt. The nut screwed onto the bolt first plays the role of a lock nut, providing a secure fit. This eliminates the displacement of the nuts on the thread during subsequent processing.

On the circumference of the bolt end, on the line of its connection with the nut, mark with a marker three points evenly spaced around the circumference.

With a suitable punch, we knock out small recesses at these points for the convenience of subsequent drilling.

Clamping our structure accordingly, we drill three holes at the marked points. The depth of the holes is equal to the thickness of the nuts, that is, we drill both nuts through and through. The thickness of the drill in my case is approximately two times less than the diameter of the bolt. You can choose a thinner drill, a thicker one can greatly loosen the nut. In general, find a middle ground. For convenience, I first drilled small indentations with a small diameter drill.


After drilling is completed, we loosen the lock nut tightening and disassemble the structure.

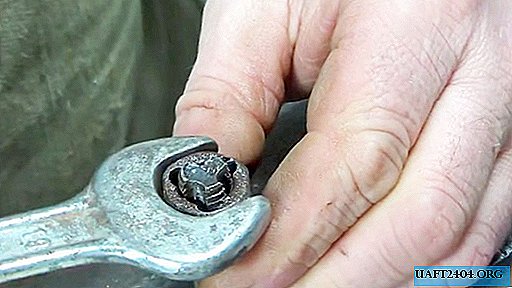
As a result, the bolt turned out to be like a tap, but without a cone, the nuts became like dies for threading. Thanks to the sharp cutting edges formed during drilling on the threaded threads of the bolt and nuts, they can now be used to restore internal and external threads.

We repair damaged threads
To restore the internal thread, we use our modified bolt, the external thread will help repair the nut - the die.

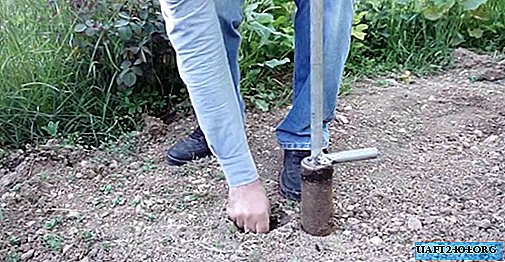
By screwing the tool we made on a part with a damaged thread, we cut through the damaged threads.
If necessary, the part to be restored can be clamped in a vice and rotated using a key.

Tip
During the restoration process, depending on the condition of the thread, considerable effort may be required. The use of lubricant will facilitate the work and improve the quality of its result. You can pre-moisten the surface of the thread WD-40 or other liquid lubricant, or you can follow the advice of masters of the old hardening, who argue that when cutting threads the best lubricant is lard. This is not a joke, although someone can cheer.
Well, good luck to everyone! Use caution when performing work.
Share
Pin
Tweet
Send
Share
Send