Share
Pin
Tweet
Send
Share
Send
During the manufacture by inexperienced craftsmen of various wood products, unpleasant situations often arise. Professionals prevent the appearance of most problems, and the rest eliminate quickly and without any additional effort. Here are some of their secrets.
What is needed
These tips are good in that no additional materials and tools are needed. Problems are solved with the help of tools that every carpenter always has.
1. Putty for lumber

Buying in a store is not only a waste of time; it is even theoretically impossible to choose a putty exactly according to the color of the boards. Do it yourself.
Collect sawdust during sawing.
Then, as necessary, add PVA glue to them, bring the consistency to a state of oily sour cream and immediately proceed to repair cracks.

After the glue has completely dried, smooth the surface with a sandpaper.

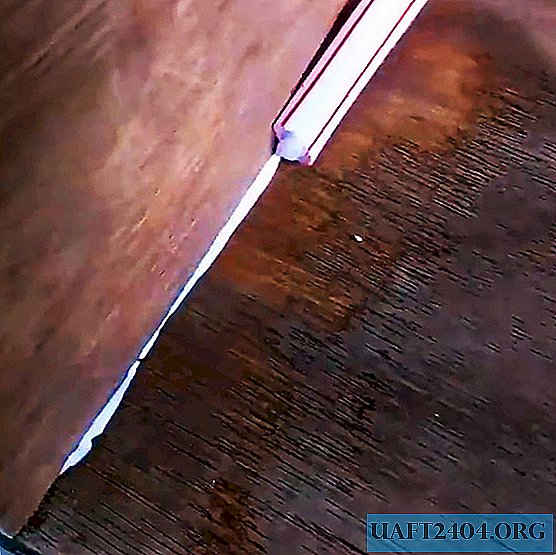
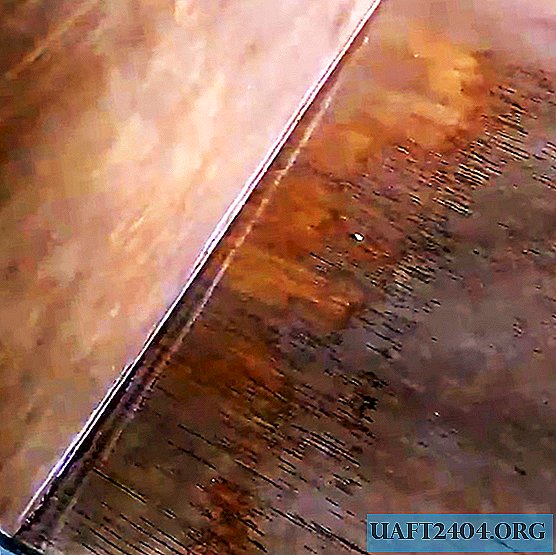
2. How to prevent chips on plywood
Such a problem arises when sawing plywood with any tools, especially not very sharp or with a beating axis of rotation.
Draw a cut line on the plate.
Stick masking tape on it, press it firmly to the surface of the sheet, the quality of the cut depends on this.

Draw a new sawing line on the tape and perform the operation.
Remove the tape and make sure the cut quality is excellent - there are almost no chips at the edges.

3. How to turn out a self-tapping screw with smooth edges of the head

Situations arise when using low-quality hardware, or the efforts of pressing the tool are insufficient and the nozzle cuts off the corners of the cap.
It is much easier to unscrew a self-tapping screw if a rubber gasket is installed between its head and holder. It can be cut from an old bicycle chamber.

4. Extension of the use of roulette
Roulette is often damaged during sizing. The old marks remain on it, millimeter designations become invisible.
Stick a thin tape on the tape, all unnecessary marks will remain on it, the metal strip will not be damaged. Lines from adhesive tape are easily removed, if this is not possible, then it must be removed and replaced with a new one.

5. Thin rail cracks when driving a stud

The method should be used in cases where the nail must be driven at the end, and there is no possibility to drill a special hole.
The problem is solved simply - blunt the tip of the nail with a few strokes of the hammer. Now he will not push apart the fibers, but break through them, the probability of cracking is much reduced.

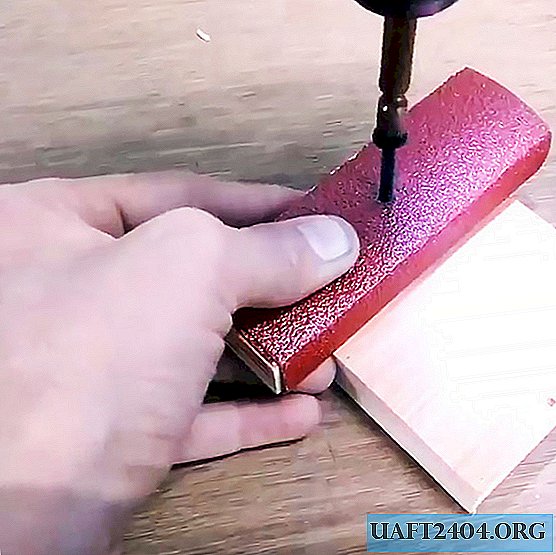
6. How to smoothly cut a plywood slice
It is necessary to make an elementary adaptation.
On a piece of rail 20 × 30 × 100 mm, wind the grinding skin of the required size.
With an assembly knife, cut off the excess length of the skin.
Screw the element to a flat wooden surface with a self-tapping screw: a piece of plywood, a planed board, etc.

The fixture is ready - abut the side surface against the plywood and finely grind the edge of the cut.

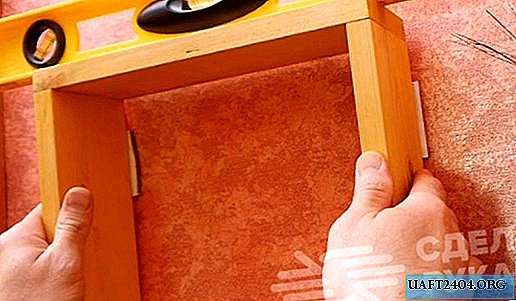
7. How to drill a hole at a right angle
Most products require a strictly vertical position of the holes; only experienced craftsmen can fulfill the conditions. Everyone else is recommended to make the simplest adapt.
Prepare the parts, they can be made from a piece of rail, a strip of OSB, laminated plywood or other suitable material with a width of about 3 cm and a thickness of about 1 cm.
Cut a rectangle of 20 × 30 mm, coat the PVA terminals and screw it to the strip with a self-tapping screw. Pay attention that the angle is 90 degrees, in order to prevent cracking of parts, pre-drill holes of a smaller diameter in them.

After the glue has dried, the device can be used - put its edge on the board, set the drill at the point of contact at a right angle and drill a hole. The main thing is to go deep about 2-3 cm, then the device can be taken away, centering is done automatically.

Check the angle with a square, you can visually verify the accuracy of drilling.
8. How to lighten the screw-in force
If there is no time to drill a special hole, then it is enough to lubricate the self-tapping screw with silicone. In the liquid state, this is an excellent lubricant, which greatly facilitates the effort of screwing the hardware into solid wood.

9. How to gently remove excess glue
When connecting individual parts with glue, its excess is squeezed out along the joint line. If you need to remove them very carefully, it is recommended to use a thin plastic tube.
Bend the butt slightly so that it is adjacent to perpendicular surfaces.
Press the tube to the product and slowly drive it along the joint, excess glue will get inside. Surfaces will remain perfectly clean.
Conclusion
This is not a complete list of professional secrets of experienced carpenters. Each of them has its own algorithms for performing work, small devices and tricks. Do not be afraid to use their work experience. Try to come up with original solutions to difficult situations.
Share
Pin
Tweet
Send
Share
Send