In this review, the author tells in detail how to work with the stencil correctly when applying decorative plaster on the wall indoors. In this case, the plaster itself is made of ordinary putty.
The first step is to create a light texture on the surface of the wall. For this, the master uses acrylic putty. The texture itself is done using a paint roller.
After the putty is a little dried up, you will need to slightly smooth the relief with a metal plaster for plaster.

The main stages of work
At the next stage, using a special stencil for applying decorative plaster, the master makes markings on the wall. You can buy a stencil ready or make it yourself.

After marking, it is necessary to prepare a solution for plaster. In this case, a finishing gypsum putty is used for internal work. The solution itself must be prepared according to the instructions.

Next, we put the putty on the stencil, applying it according to the previously made markup. It is better to work together: one holds a stencil, the other - puts a solution with a spatula.

So that there are no sharp edges, you can moisten the roller, and gently roll the surface of the wall with it. This should be done when the plaster dries a little.

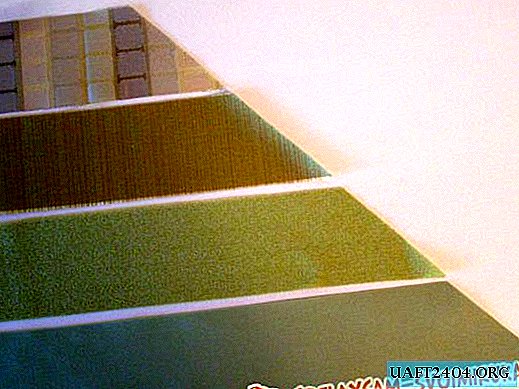
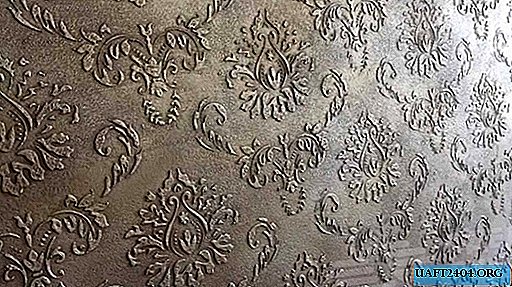
Then we leave it to dry completely (at least 24 hours). The final touch is painting. Choose the color already, which one you like best.

For more information on how the screening technique for applying decorative plaster is performed, see the video on the site.