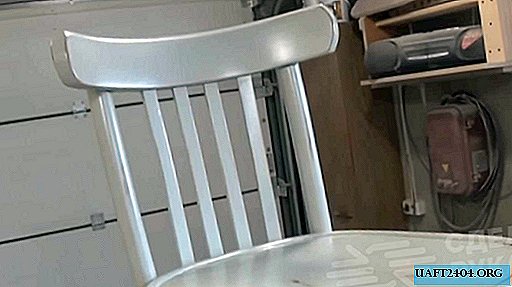
Restoring an ordinary Viennese chair with round legs, "beaten by time" (that is, in a deplorable state), is laborious and painstaking work. However, if desired, the old chair can still be restored, returning it to a beautiful appearance.
First of all, it is necessary to carefully disassemble the chair into its component parts, while trying not to break anything (and especially it is necessary to ensure that the spikes of the tsar remain intact, do not break off - if the thorn-groove connection is used).
After the Viennese chair was disassembled into separate parts, all the "accessories" must be processed with a grinder and sandpaper. It is not necessary to completely remove the varnish - as the Vienna chair will be covered in a dull color.

The main stages of work
The assembly of the chair begins with the installation of the legs. In this case, the legs "sit" on the PVA carpentry glue, and on the side are additionally fixed with wooden dowels. Under the dowels, you will need to drill holes.

At the next stage of work, the master fastens the front legs of the chair with a tsar, which is also a support for the seat. Self-tapping screws are used as fasteners.

The hind legs are a continuation of the back. Since all the elements of the back were shaken, the author decided to "put" them back on epoxy glue. To reduce the fluidity of the epoxy, you can add a little dust to it (it will remain after grinding).

After gluing, you can begin to assemble the chair itself. By the way, the master decided to replace the screws with wooden dowels. Now it remains only to paint the chair, and the restoration process can be considered completed.

For more information on how to do the restoration of the Vienna chair with your own hands, and what points you need to pay attention to, see the video on our website.