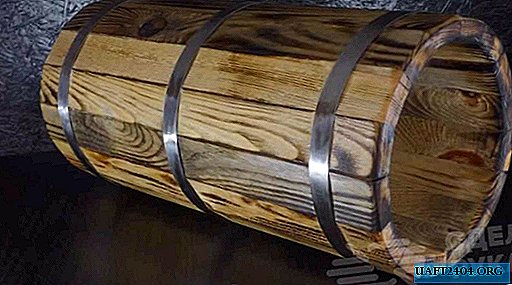
Bottle cap is a small but very useful item in every kitchen. And if it is also originally executed, then it will attract the attention of absolutely everyone.
To make it, we take a wooden cork, wrap a film around it and fix it with ordinary tape. Squeeze the cork out a little.
Pour the required amount of epoxy into a plastic cup, add the hardener there and mix well. We also add pigment (black paint) to the resin. With the resulting mixture, fill the space above the cork to a height approximately equal in height to the cork itself.

The main stages of work
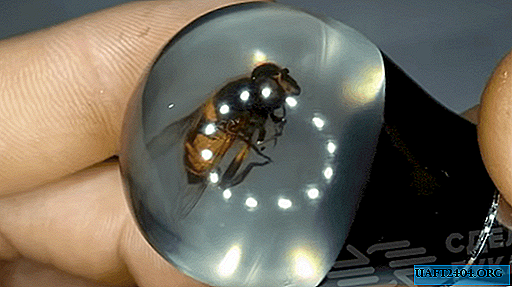
After drying, add a small layer of transparent resin, where we put the bee. Then add some more transparent resin on top.
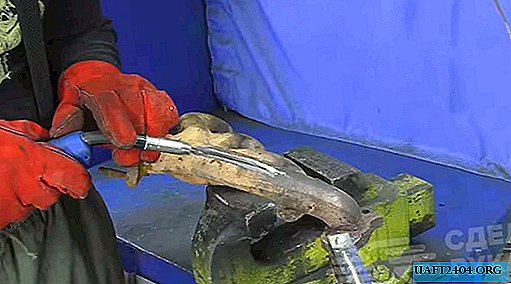
After solidification, remove the film. We fix the cork in the machine and remove the top layer, bringing the cork to the required size. Then we saw off the usual cork from the hardened resin. We fix the workpiece in the machine, mark the center, drill a hole and cut the thread.

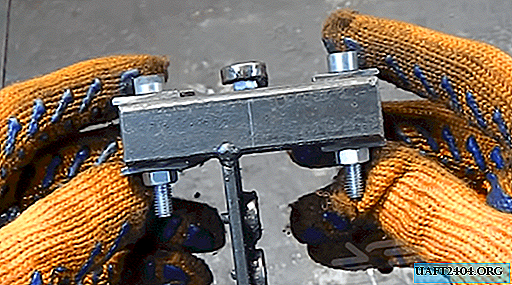
We screw a bolt into the hole, for which then we fix our cork to the machine. Then we remove a few more layers, giving the cork the necessary shape. Grind several times, polish with a soft cloth and apply polishing paste. We polish the fabric to a shine - until the bee is clearly visible.
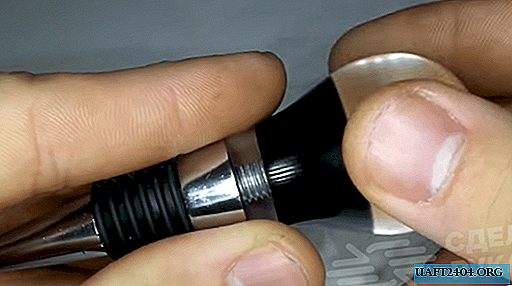
We saw off the epoxy plug together with a segment of the bolt, which we screw into the hole in the conical tip. The result is a beautiful, original, practical and durable bottle cap.

For details on how to make your own original bottle caps made of epoxy resin with a bee, see the video on the website.