Share
Pin
Tweet
Send
Share
Send
From the materials we need:
- - beam 50x50 mm;
- - plywood 12 mm thick;
- - M10 pin and M10 nut;
- - reinforced washer 8;
- - washer 6;
- - three wood screws with a wide hat;
- - wood screw 25 mm;
- - carpentry glue (I used PVA).
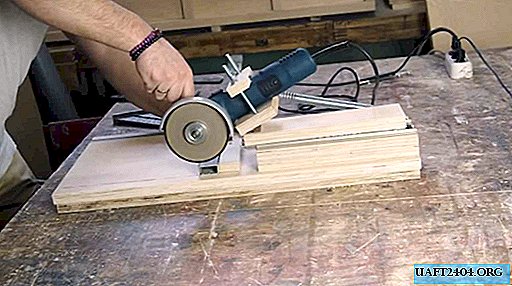
Step-by-step master class for manufacturing a drilling vice
We cut three bars of 50x50x120 mm and mark the centers on two of them, drawing two diagonals from the opposite corners of the workpiece.

On the first bar along the marked center, we consistently perform a through hole of 10 mm, and then coaxially with a diameter of 16 mm to a depth of 8 mm.

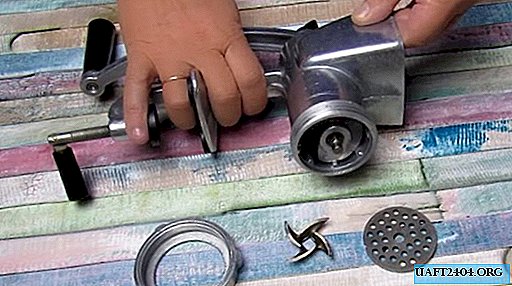
Then we look at the nut M10.

And along the contour of the nut we mark the counter of the nut with a pencil or, as I did, with a chisel.

Working with a chisel, we make a hexagonal hole in the bar to a depth equal to the depth of the second hole by 16 mm.

We press the nut into the hole with a clamp, although you can simply hammer it with a hammer.


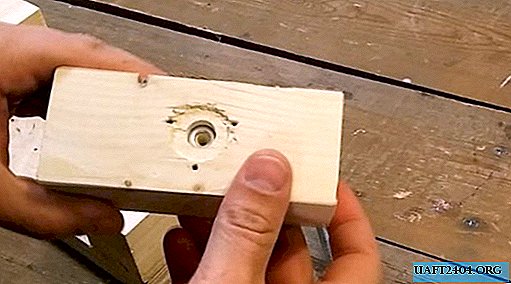
We take the second bar and, according to the marking with a Forstner drill, we make a hole of 24 mm to a depth of 2 mm, then the second hole is coaxial to a hole of 12 mm and a depth of 6 mm.

Along the perimeter of the hole 24 mm evenly, after 120 degrees we drill three more holes with a diameter of 3 mm for self-tapping screws.

Next, we assemble the base of a vise from plywood 12 mm thick - we need pieces of 120x270 mm and two pieces of 45x270 mm each. Having pre-glued the connected parts, we fasten them with self-tapping screws along a 19 mm long cut (first, for the self-tapping screws, make holes with a chamfer for the countersunk head of the fastener).


Similarly, we fix the stationary jaw of the vice and the thrust part.


The stationary part of the vise is ready.

We perform two cuts on the enlarged washer 8, forming a groove along the width of the hole.


On a M10 hairpin with a length of 250 mm, departing from the edge of 6 mm by, we groove to a diameter of 8 mm with a width of about 3 mm.


Turn the handle on the lathe. For lack of a lathe, the handle can be cut or sawed off a piece from a shank for a rake or a shovel (they are sold in ready-made stores).

At the ends of the handle we make two holes - in one end with a diameter of 10 mm to a depth of 60 mm.

And on the other hand, with a diameter of 3 mm for a self-tapping screw.

We put a hairpin on an epoxy.

Self-tapping on the other hand is similar.

We assemble a movable sponge with a handle.
At the bottom of the hole 12, we put the washer 6 for the goto, so that the pin rested on metal, not wood, when twisted.
We screw the hairpin and set the washer to 8, fixing it on the movable sponge with screws.

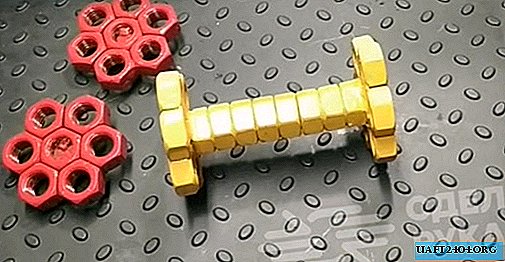
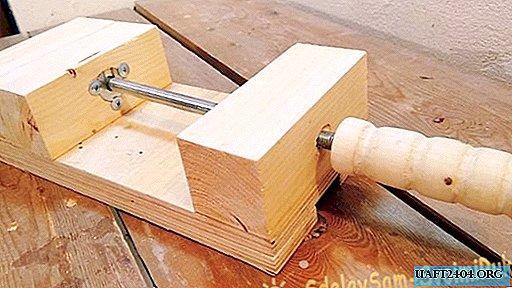
Machine vise ready.

You can see the manufacturing and assembly process in more detail on the video:
Why do I need a self-tapping screw in the handle?

You will also find out about this in the video!
Share
Pin
Tweet
Send
Share
Send