Share
Pin
Tweet
Send
Share
Send
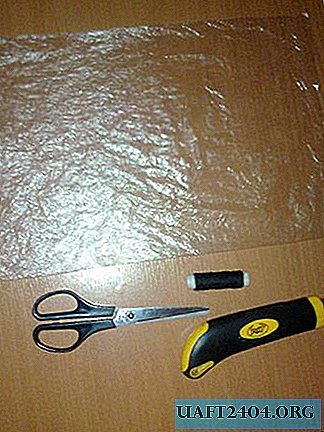
For sewing the calf, a piece of tight knitwear measuring approximately 50 x 40 cm was used. We print the proposed pattern on a printer or redraw it by attaching a sheet of paper to the computer monitor.


We transfer all parts to knitwear, except for wedges. They are cut out of white calico or chintz in the amount of 6 pieces. We sew them together, in the center we leave a small hole. We sew on a typewriter along the contour. We leave small holes (1-1.5 cm each), through them we will turn the blanks and stuff them with filler in the future.


You can turn out the details using a sushi stick. It is convenient for her to fill parts with holofiber or synthetic winterizer.


We put on a tight-fitting ball sewn from wedges and tightly packed with filler, we tighten the top.


On the opposite side we make a recess in the filler, where we push the knitted "process".


Insert the neck into this hole. For fixation, you can drop a little glue "Moment" on it or fix it with a thread, connecting it to the crown of the head. We join a neck joint with a head with a hidden seam.

We fix the legs to the body with pins, make sure that they are attached at the same level. Then we sew them through the body through the buttons. Such a mount allows the finished doll to be planted, to turn its legs and handles.


We sew pantyhose from an adult sock. To do this, cut off the toe of the product, cut in half, grind the slices.


Next, we sew a school uniform for the doll. Since the future "first-grader" we will still not play, but to a greater extent interior, then she will have a fixed dress. Only four parts are needed - two gloves, a bodice and a hem.

We first draw the approximate pattern of the bodice on paper, apply it to the body, adjust it around the circumference and height. For the hem, we cut out a strip of about 6 x 30 cm from the fabric, we trim the upper cut.

Handles are applied to the fabric, we circle around the contour, so we get blanks for making sleeves.

We connect the bodice and hem, process the slices, you can immediately sew a lace collar in the neck area.

We sew a vertical cut on the back. Sew lace lace on the sleeves, put on the handles.

Now you can fix them on the body. We pass through the body with a long needle with a double thread, grab handles only through their inner part.


We sew a white apron using lace, braid or plain white chintz.

At the next stage, create a hairstyle on the head of the doll. This master class used tresses with artificial hair one meter long. Instead, you can use felting wool, knitting threads, satin ribbon, foamiran, etc.
Sewing tresses starts from the bottom of the head and runs along its entire circumference.


First, you can fix the hairs on the "Moment" glue, and for reliability also sew it on. From the remaining piece of tresses 8-10 cm long, we form a bundle, we insert it into a small hole in the crown.


Then we straighten this “palm”, apply a piece of fabric on top, and a heated iron on top of it.

In this case, the crown is smoothed and will not puff.

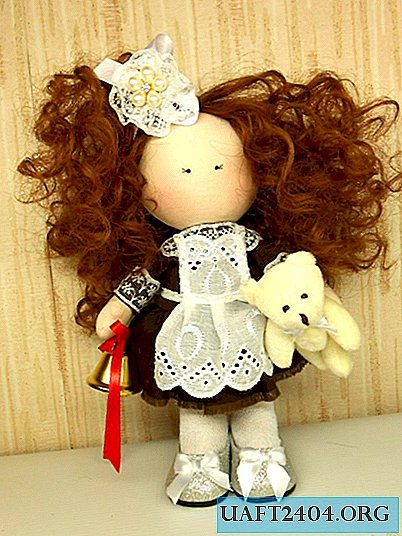
At the last stage, we create the final image for the doll. We put on shoes, on the head we fasten a white bow. You can sew a bouquet of artificial flowers or a bell in your hands. In this master class, the “first-grader” was given a little teddy bear in the second pen, because the girl had just graduated from kindergarten and had not played enough with toys yet.


The bear is fixed on the handle using the button. We draw eyes-dots on the face, create a blush on the cheeks, well, now the chrysalis is completely ready.


Share
Pin
Tweet
Send
Share
Send