Share
Pin
Tweet
Send
Share
Send
Not so long ago, I remade a screwdriver’s battery into 18650 lithium-ion cells. I charge it with a Turnigy smart charger. But not everyone has this charger.
It will be required for assembly
I decided to assemble a simple charger with a balancer for lithium-ion. The charger has 3 identical independent channels. They can be charged from one element to three. If necessary, you can add any number of channels. I have three of them, that is, 3S or 11.1 volts.
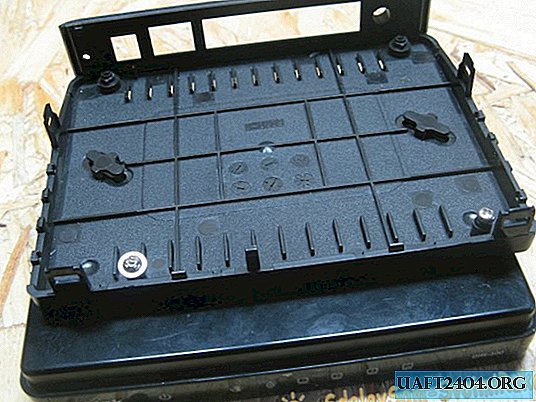
The case for the balancing charger is the case from the burned-out D-link router. If possible, take a larger case, it turns out to work very closely in it.
One of the main component are the power supplies of each channel. Their role is played by the tablet charger cards with an output of 5 Volts and a current of 1 Ampere (or you can buy on Ali Express - a pulse power supply 5 V 1 A).

Charge controllers are boards from China - a charge controller for the 18650 battery. Each channel has its own controller. I have a board without protection, but in this case it is not needed. You can use the controller boards along with the connectors, I do not have two on them, they were removed for other projects. The price of these modules is cheap. If you are engaged in the development of devices based on lithium-ion and lithium-polymer, then these controllers are indispensable.

Making a balancing charger
The charge controller boards need to be soldered to the outputs of the charge boards. It is possible and separately. I soldered to thick wires from the power cable, so the design is more rigid.

On the boards of the charge controllers there are LEDs that indicate the charge and the end of the charge. They need to be evaporated. Instead, they will be ordinary LEDs, in different colors. They will be attached to the windows where the router LEDs blinked before.

I soldered wires to the LEDs from the old plume of the computer hard drive. If there are LEDs with a common anode (plus), then it is better to use them. I didn’t have such, I applied what is.

In place of the old LEDs, solder the cables with LEDs. In the photo I have a green 3 mm LED. I had to replace it, they turned out to be singed, I did not check it before wiring.

For the back panel you need to cut the trim. In it, we make cuts for the power switch and the 4-pin output connector. The connector was removed from the old hard drive. You can apply any, to the desired number of pins, with a current of 1-2 Amps.
The switch was removed from the old computer power supply. We fasten the cover to two screws, for rigidity.

Glue the output connector onto epoxy glue or soda with super glue. I glued one and the other for speed.
Charging board with controllers glued to thermo glue. But before fixing, I soldered the network wires.

One of the network wiring, soldered to the switch. The second, directly to the second wire of the power cord.

Now glue the LEDs. I glued thermo glue, you can and soda with super glue.

Solder the output jumpers.
Plus the first controller on the first leg of the output connector. Minus it to the second leg and connect with the plus of the second controller. And so on.

We twist the case and set it aside.

Let's make a wire for this charger.
I applied two pieces of wires from a computer power supply. I soldered in order from the first contact of one connector to the contact of the second.

We connect the charger to the battery of the screwdriver (Converting the battery of the screwdriver to lithium). The red LED indicates the ongoing charge process. At the end of the charge, the green LED lights up. Accordingly, the icons on the case light up: Wi-Fi, second and fourth computers.

Here we have a charger. Costs are minimal, and the benefits are great.
With this device, you can charge assemblies on lithium polymers, those that are used by modelers in their vehicles. The main thing is to make the right charging wire.

Share
Pin
Tweet
Send
Share
Send