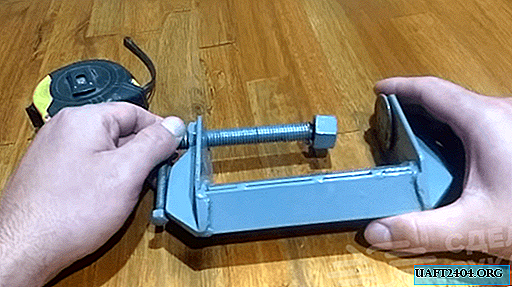
The clamp is an indispensable accessory of every master. This is a special locking device: simple, affordable, universal, which is necessary for fixing parts during locksmith or carpentry work. First assistant in the garage, home workshop and in the country.

For the manufacture of a powerful home-made clamp, in addition to scraps of the corner, you will also need a stud, three nuts and another long bolt with a nut (will be used as a winch). All these materials can be found in every workshop without any problems.
First of all, we take a hairpin, we fix it in a vice, and with a grinder we saw off a segment of the desired length. Next, we fix the sawn part of the rod and process its end with a grinder, squaring it. If you want to make several clamps, then you can immediately prepare the required number of studs.

The main stages of work
Now we weld the clamp frame. To do this, cut the corners to size. Then we take several corners, cut off from them ¼ part of one side. After that, we connect the two corners together in such a way as to make a brand. We weld them to each other.

Next, we weld at a right angle a piece of the corner to another brand from the bottom. We weld a tee to the second side of the corner, in which we cut a hole for the nut from the sawn part. We screw a stud with a nut into it. We drill a hole under the collar.

At the last stage of the work, we cut off the sharp edges of the grinder and grind the metal surface, including cleaning the welds. Then we paint. Homemade clamp is ready. Now you can easily fix between each other boards, metal parts, chipboard. For details on how to make a clamp from the scraps of a corner with your own hands, see the video.

